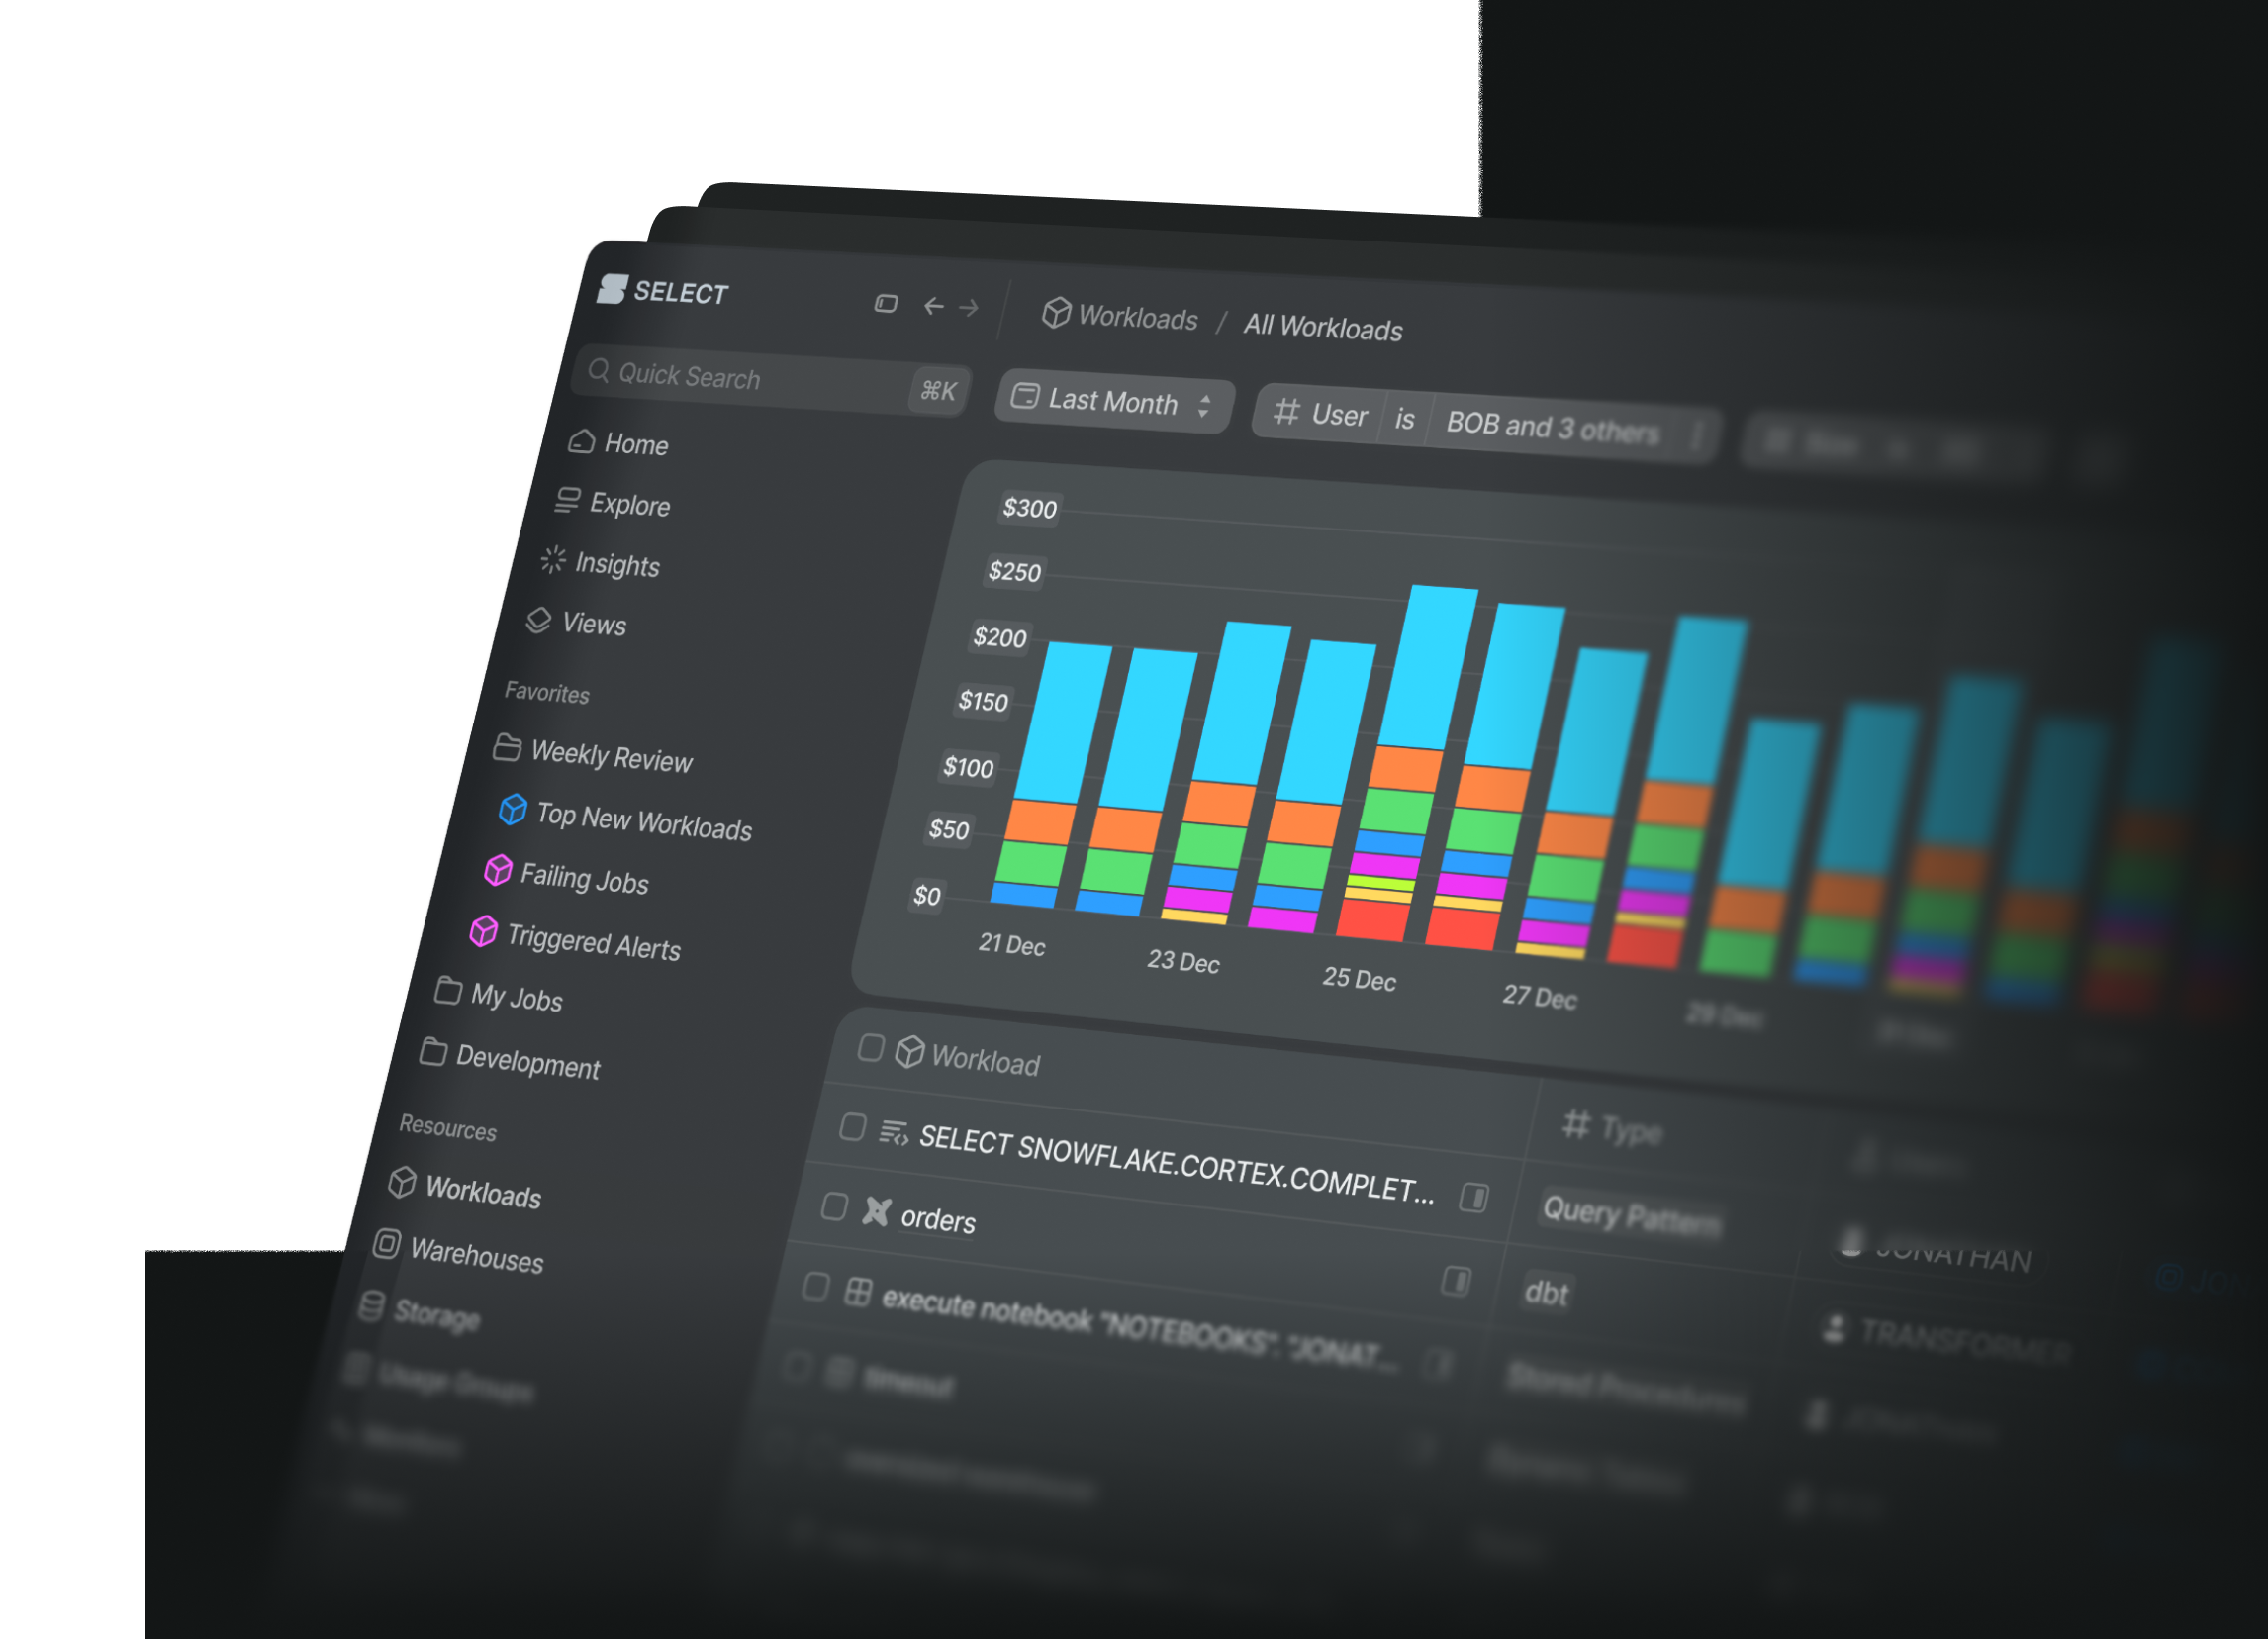
When Databricks runs on classic compute, AWS bills you for the EC2 instances, EBS volumes and networking underneath. Once your AWS cost data is connected, SELECT shows that AWS cost next to the DBU cost of each workspace, cluster, SQL warehouse, job and query, so you can see the full cost of running Databricks.
Prerequisites
- Admin access to your AWS payer (management) account, or at least permission to manage Billing, Data Exports, S3 and IAM
- Only the payer account can manage cost allocation tags, and an export created there includes every member account in your AWS organization, so one connection covers all of your Databricks workspaces
- Your Databricks workspace already connected to SELECT
Connecting your AWS bill
Step 1: Activate the Databricks cost allocation tags
Databricks automatically tags the EC2 instances and EBS volumes it launches. SELECT uses those tags to tie AWS cost back to a cluster, SQL warehouse or job. AWS only includes the tags in your cost data if they're activated as cost allocation tags.
- In the AWS console, open Billing and Cost Management → Cost allocation tags
- Open the User-defined cost allocation tags tab, then find and select these tags:
Vendor: set on all compute. Identifies resources Databricks launched (valueDatabricks)ClusterId: set on clusters and SQL warehouses. Ties instances and volumes to a clusterSqlEndpointId: set on SQL warehouses. Ties instances to a SQL warehouseJobId,RunName: set on job clusters. Ties job clusters to a job and runDatabricksInstancePoolId: set on instance pools. Ties pool instances to a poolDatabricksInstancePoolCreatorId: set on instance pools. Display onlyClusterName,Creator: set on clusters. Display only
- Click Activate
Timing: a tag only appears in this list after AWS has seen it on a resource. Once it's activated, AWS can take up to another 24 hours to apply it. So allow up to two days in total before tags show up in your cost data.
Instance pools: instances that come from an instance pool only carry the pool's tags (plus your workspace's custom tags), not the cluster's. SELECT handles this by matching each instance to the clusters it served, using Databricks' own node timeline, so pool cost still reaches the right clusters and jobs. Time an instance spent idle in the pool shows up as idle pool cost. Activate the pool tags above either way.
Optionally, but recommended, backfill the tags so earlier months are included. By default, tags only apply to cost data from the moment you activate them. You can backfill them for up to the last 12 months:
- On the same Cost allocation tags page, click Backfill tags (top right)
- Pick the month to start from, then click Confirm
- You can make one backfill request every 24 hours. AWS only fills in a tag value where the resource actually had that tag at the time, and the updated history reaches your data export within about 24 hours
- AWS docs: Backfill cost allocation tags
Step 2: Create a CUR 2.0 data export
- Open Billing and Cost Management → Data Exports, then click Create export
- Export type: choose Standard data export
- Export name: pick a memorable name (e.g.
select-aws-cost-export), and note it down - Data table configurations:
- Data table: CUR 2.0
- Check Include resource IDs
- Time granularity: Hourly
- Leave the other options (such as Split cost allocation data and Include Capacity reservation data) at their defaults
- Column selection: select all columns, using the checkbox in the table header
- Data table delivery options:
- Compression type and file format: Parquet
- File versioning: Overwrite existing data export file
- Data export refresh cadence: Daily (the default)
- Report data integration: leave unset
- Data export storage settings: choose This account, then Configure
- We recommend creating a new bucket for the export (Create a bucket, then pick a name and a Region). Note down the bucket name and its region
- S3 path prefix: pick a prefix (e.g.
cur), and note it down
- Click Create
AWS writes the bucket policy it needs to deliver the export. If you select an existing bucket instead of creating one, Data Exports overwrites that bucket's policy, and the console asks you to confirm it. Don't edit the policy later: changing it can stop deliveries. That includes the us-east-1 region in its SourceArn, which is correct whatever region your bucket is in.
AWS delivers the first export within 24 hours, then refreshes it at least once a day. The files land in:
Want older history? A new export starts from the current month. To get earlier months, open a case with AWS Support from the payer account and ask them to backfill the export. SELECT loads up to 180 days of history.
Step 3: Create a read-only IAM policy
SELECT needs read-only access to the export files, and nothing else.
- Open IAM → Policies → Create policy, then switch to the JSON editor
- Paste the policy below, and find/replace the three placeholders:
<BUCKET>: the bucket name from Step 2, withouts3://<PREFIX>: the S3 path prefix from Step 2 (e.g.cur)<EXPORT_NAME>: the export name from Step 2 (e.g.select-aws-cost-export)
- Click Next, give the policy a memorable name (e.g.
SelectCURReadOnly), and click Create policy
Step 4: Create an IAM user
- Open IAM → Users → Create user
- User name: pick a memorable name (e.g.
select-cur-reader)- Leave Provide user access to the AWS Management Console unchecked
- On Set permissions, choose Attach policies directly, then select the policy from Step 3
- Click Create user
Step 5: Create an access key
- Open the new user's Security credentials tab. Under Access keys, click Create access key
- On Access key best practices & alternatives, choose Third-party service (or Other), confirm, and click Next
- Optionally add a description tag, then click Create access key
- On Retrieve access keys, note down the Access key ID and Secret access key (or click Download .csv file)
- AWS shows the secret only once
- You can rotate the key at any time: create a new one, update it in SELECT, then deactivate the old one
Add AWS account to SELECT
- Navigate to: https://select.dev/app/settings/aws/add
- Fill out the details you noted in the previous steps:
- Display Name: any name you'll recognize (e.g.
Production AWS billing) - Payer Account ID: your 12-digit payer account ID, shown in the top-right account menu of the AWS console (e.g.
123456789012) - S3 Bucket: the bucket name only, without
s3://(e.g.my-cur-bucket) - S3 Prefix:
<PREFIX>/<EXPORT_NAME>, the folder that containsdata/andmetadata/(e.g.cur/select-aws-cost-export) - AWS Region: the region your S3 bucket is in (e.g.
us-east-1) - Access Key ID: from Step 5
- Secret Access Key: from Step 5
- Display Name: any name you'll recognize (e.g.
- Click Save. SELECT runs three checks and shows the result of each:
- Reach the S3 bucket
- Find a CUR manifest under the prefix
- Read the first manifest object
- When all three pass, the connection is saved and the first sync starts. You are good to go!
What happens next
- The first sync loads every billing period in the export, up to 180 days back. After that, SELECT picks up each new delivery automatically. AWS keeps restating the current month, and can update the previous month for up to two weeks after it ends, so SELECT reloads both months on every sync
- Where you'll see AWS cost:
- On Databricks pages, next to DBU spend for each warehouse, cluster, job and query, as Cloud spend
- In Total spend, which is DBU spend plus Cloud spend
- In Cost Explorer, under the AWS platform
- Serverless compute shows
-for Cloud spend. Databricks runs serverless on its own AWS account and includes the infrastructure in the DBU price, so there's no separate AWS charge on your bill - AWS cost that doesn't belong to Databricks (other workloads, shared networking, tax) still appears in Cost Explorer under AWS, so the full bill adds up
Troubleshooting
Reach the S3 bucket
- Likely cause: wrong bucket name or region, or the key is wrong or deactivated
- Fix: check the bucket name has no
s3://or trailing/. Check the region matches the bucket's region in S3. Re-copy both keys.
Reach the S3 bucket (AccessDenied)
- Likely cause: the policy doesn't cover the bucket, or isn't attached to the user
- Fix: check the first statement's
Resourceisarn:aws:s3:::<BUCKET>and the policy is attached to the user. If you've set the bucket to encrypt with a KMS key you manage, also allowkms:Decrypton that key.
Find a CUR manifest under the prefix
- Likely cause: the first export hasn't arrived yet, or the prefix is wrong
- Fix: AWS can take up to 24 hours to deliver. In S3, check that
<PREFIX>/<EXPORT_NAME>/metadata/exists and contains a file ending inManifest.json. Enter the prefix without a leading/.
Read the first manifest object
- Likely cause: the policy's object path doesn't match where the files are
- Fix: check the second statement's
Resourceisarn:aws:s3:::<BUCKET>/<PREFIX>/<EXPORT_NAME>/*, matching the folders in S3 exactly, including case.
Exports stopped arriving (an Invalid bucket error in Data Exports)
- Likely cause: the bucket policy or bucket owner changed after setup
- Fix: restore the bucket policy Data Exports created, or recreate the export.
Connected, but Cloud spend is - for classic compute
- Likely cause: tags not activated (Step 1), or not yet in the data
- Fix: activate the tags, and backfill them for earlier months. Allow up to two days for the tags to reach your data.
Stuck? Reach out to your SELECT contact with the failed check's message. It includes the AWS error code, which is usually all we need.