Up & Running With the Snowflake Connector for Python
Ian WhitestoneSunday, April 28, 2024

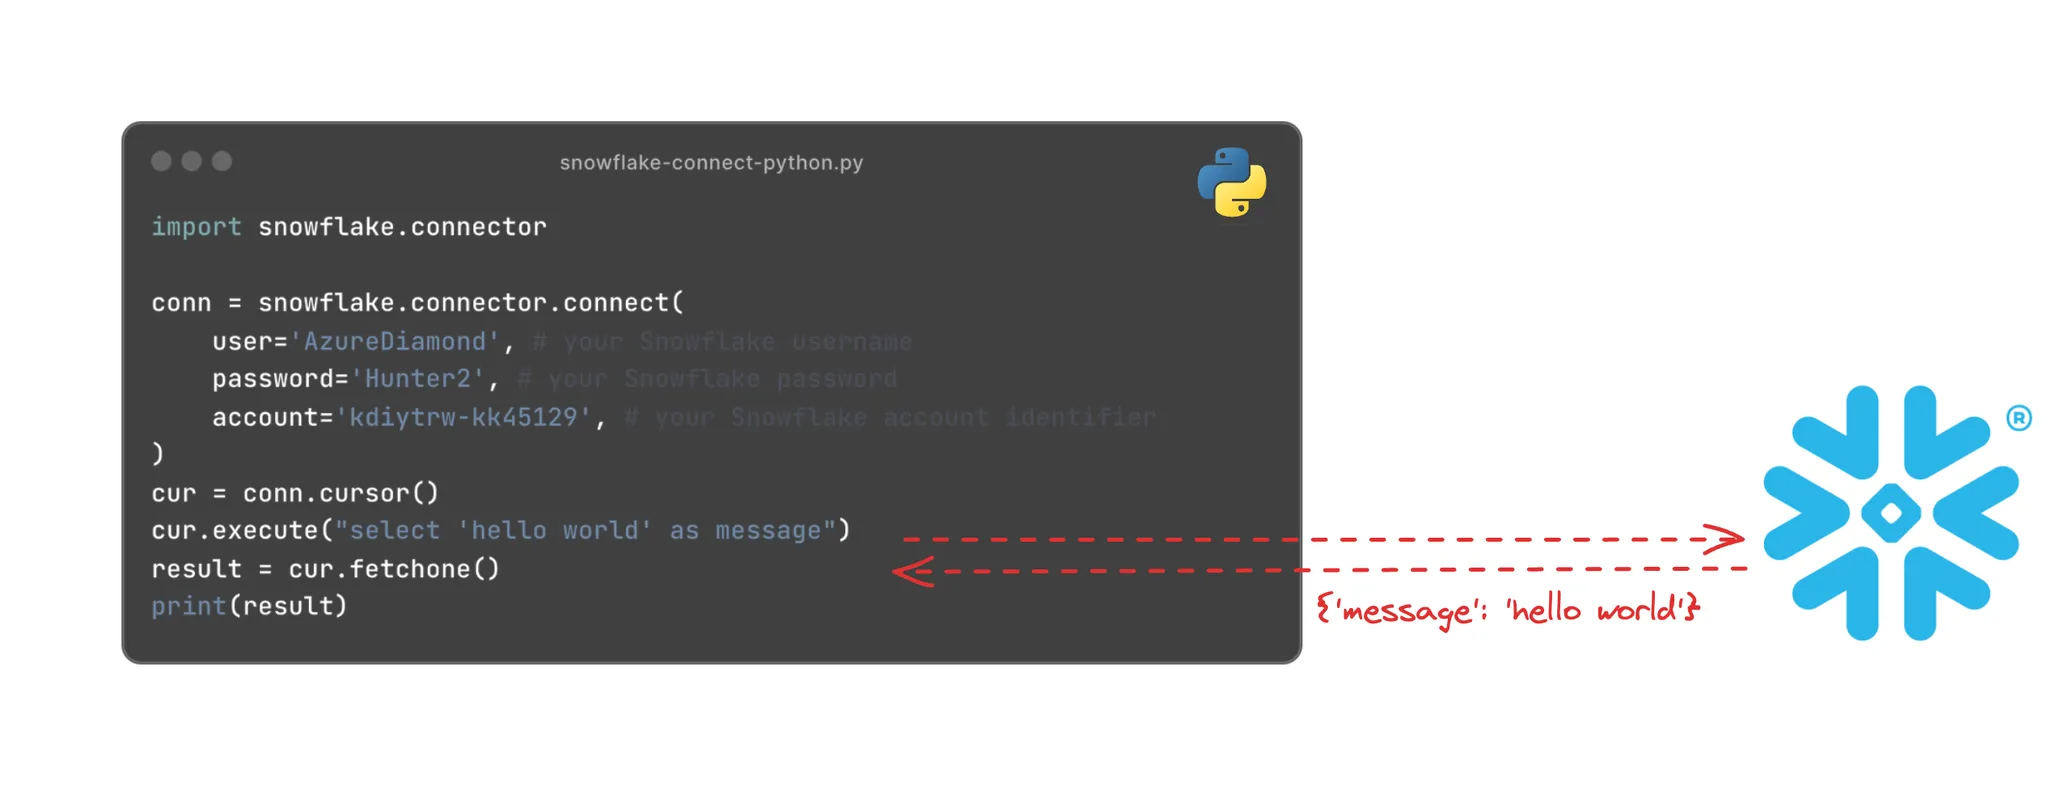
The Snowflake Connector for Python is a Python library maintained by the Snowflake team, that is the official Python driver for Snowflake. If you are looking to programatically connect to Snowflake and run queries via Python, you’re in the right place. Many companies, including SELECT, use this library to orchestrate workflows in Snowflake or even build data-driven applications on top of Snowflake.
How to install the Snowflake Connector for Python
The Snowflake Connector is a native Python package, meaning it can be installed just like any other Python package.
Using pip
The easiest way to install the library is using pip, the official package management system for Python:
Using conda
If you use conda as a package management system, you can install the package with the following:
Quickstart Example
Here’s an end to end example of how to use the Snowflake Connector package to execute a query and process the results. This example shows the total credit consumption by virtual warehouse over the last 30 days:
The data printed to the output will look something like this:
To find your account identifier, follow the steps in this post
Core Concepts
Connection & Cursor Objects
As shown in the quickstart example above, there’s two separate objects we interact with: the connection object and the cursor object.
The connection object is responsible for authenticating and connecting to Snowflake, and returning cursors. Individual cursors are used to execute queries against Snowflake and retrieve results. A single connection can have many cursors. The same cursor can be used to execute multiple queries, you do not need to create a new one each time. The same holds true for the connection object. Establishing a connection to Snowflake takes a few seconds, so you will only want to do this once.
You can learn more about the different methods available on each object at the official Snowflake Python connector API docs.
Synchronous vs. Asynchronous Queries
There’s two ways to run queries with the Snowflake Connector for Python: synchronously and asynchronously.
Submitting a synchronous query
When you submit a synchronous query, your Python process will wait until the query is returned. This is the most common approach used when working with the Python connector due to its simplicity:
Submitting an asynchronous query
With an asynchronous query, the Snowflake Python package will immediately return control to your Python process before the query completes. This is particularly helpful when you’re building multi-threaded applications in Python (like a web application) or using Python to execute many different queries at once.
To run an async query, use the execute_async cursor method instead of the regular execute method. Later in your code, you’ll need to poll Snowflake to see if the query has completed
Transaction Control
By default, when you run queries in Snowflake through the Snowflake Connector package the queries are automatically committed.
For more fine-grained control over your SQL transactions, you can set autocommit=False when establishing your connection.
Using the with context manager
Consider the following code. If any of the SQL statements fail, Snowflake will automatically roll them back. If they succeed, they will be automatically committed once the with block is exited.
Manually controlling with try-except
For more fine-grained control, you can manually commit SQL transactions or rollback them back using with the conn.commit() and conn.close() methods and the try-except-finally pattern:
Closing your connection
As a best practice, you should close your connection at the end of your Python script with the conn.close() method. To ensure the connection gets closed even if your script encounters an error, you can wrap your code in a try - finally block:
Another useful pattern is to use the with() Python pattern which automatically closes the connection:
More Examples
Let’s dive into some more examples that highlight other common patterns used with the Snowflake Python Connector.
Passing Parameters into your SQL statement
A common need for developers is the ability to pass different parameters into your SQL statements.
Python has excellent support for string manipulation with f-strings, which you can use for this exact purpose:
Alternatively, you can leverage bind variables:
Fetching All Results
In all the examples shown in this post, we’ve leveraged the fetchall() method to return all the results from the query:
Processing Batches
If you want to minimize the memory consumed by your Python application, you can process batches of data at a time. Here’s an example that processes 100K records at a time:
Return a list of dictionaries
By default, Snowflake will return a list of tuples, and you will not know which column each entry in the tuple refers to. Here’s an example showing how you can return a list of dictionaries for each row, where the key is the name of the column:
Executing multiple SQL statements at once
When running the cursor.execute method, you can only pass in a single SQL statement. To execute multiple SQL statements in one go, you can use the execute_string method on the connection object. A list of cursors will then be returned, which you can leverage to process the results if necessary as per the examples above
Setting Session Parameters
When establishing your Snowflake connection, you can conveniently set different session parameters. Examples of this can include setting a query tag so all queries executed from your connection are tagged, or setting a query timeout so that your queries are automatically cancelled after a certain period.
You can also pass in other parameters like warehouse to control which virtual warehouse your queries will run on. If not supplied, queries will run on the default warehouse for that user.
You can see a full list of connection parameters here.
FAQ
What version of Python is needed for the Snowflake connector?
To use the Snowflake connector for Python, you must be on Python version 3.8 or higher.
What other Python libraries does Snowflake offer?
Since coming out with the Snowflake Connector for Python, they have since released a new Python library called the **Snowflake Python API.**
This library provides a number of different APIs for interacting with Snowflake resources via a first class Python API. Instead of using the Snowflake connector in Python to send SQL statements to Snowflake, the Python API allows you to interact with Snowflake through pure Python commands, without having to write any SQL.
Here’s an example that creates a new schema called analytics with a table called temperature_readings.
Under the hood, the Snowflake Python API installs the Snowflake Connector library and presumably uses it to execute the Snowflake queries generated by these Python functions/APIs.

Ian is the Co-founder & CEO of SELECT, a SaaS Snowflake cost management and optimization platform. Prior to starting SELECT, Ian spent 6 years leading full stack data science & engineering teams at Shopify and Capital One. At Shopify, Ian led the efforts to optimize their data warehouse and increase cost observability.
Want to hear about our latest Snowflake learnings?Subscribe to get notified.
Get up and running in less than 15 minutes
Connect your Snowflake account and instantly understand your savings potential.


