

What are Views?
If you find yourself repeatedly applying a certain set of filters, columns, or looking at a specific slice of data in SELECT, you can save this selection as a View for easier reuse and sharing.
Views will remember the following settings for a given page:
- Filters
- Columns
- Names
- Chart settings
Views work any page in SELECT where a filter can be applied or a table can be modified. This includes:
- Home
- Explorer
- Insights
- Monitors
- Query History
- Warehouses
- Storage
Create a View
Once you have selected the desired filters, columns and chart settings, click "Save View" in the top right.
In the pop up box:
- Decide if the view should be Private, Public, or shared to a Team.
- Give the view a Name.
- Choose a custom icon and icon color for the view.
- Hit Save

Public vs. Private vs. Team Views
When creating a view, you'll need to choose how accessible the view will be. The view type will determine who else within SELECT will see the view on a given page in the view selector.
- Private views will only be visible to you. They can still be shared by sending them the URL, as long as that person has access to the underlying page/resources. No one else can edit or modify your view.
- Public views are visible to everyone in your SELECT organization. Other users with an editor or higher privilege will be able to modify this view.
- Team views are only visible to other members of your team. Other users in your team with an editor privilege will be able to modify this view.
Update a View
To update the filters or the columns in a View, simply make the change while the view is active, then click Update View in the top right.
To edit the View name, who the view is shared to, the icon or color, click the view name in the top right, then click Edit. After making your changes, click Save.
Delete a View
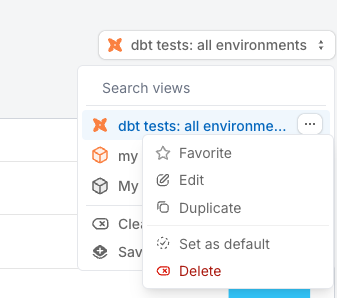
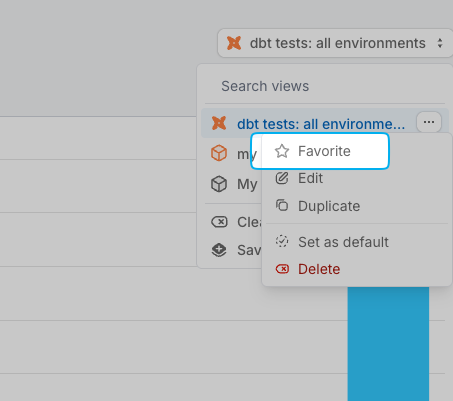
To delete a view, click the view name drop down in the top right. Then click the 3 dots next to the view you want to delete. Then click "Delete".
Add View to Favorites
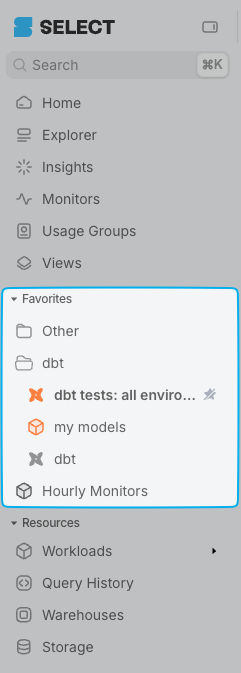
Favorites are a list of saved Pages and Views that are pinned on your left sidebar.
To Favorite a View, click the View name in the top right corner, click the 3 dots, and find the "Favorite" option there.
Now the View will appear under Favorites in your left sidebar, and can be organized into folders by using the +folder icon. Unfavorite an item by using the "unpin" icon next to the View name in the Favorites menu.
Listing all Views
Since almost every page in SELECT can become a view, we need one place to list all the views we have access to. Head over to the Views page in the left side bar.

Here you will find a list of every view you have access to, along with plenty of metadata about the view. The table can be sorted by clicking in the headers. Also, be sure to note you can click "Add Filter", which can help you sift through your pile of views.
Share a View
As mentioned earlier, you can make a View public or share it to a team. But sometimes you may want to keep the view private and have a teammate review it once. In this case, you can share a view via URL.
To share a View via URL, just copy the URL from the address bar when the View is active. The URL will look something like this: https://select.dev/app/idfshoz-le02430/workloads/dbt/resources?savedView=7477bf38-49e3-49be-980f-52b099573668
A user in your SELECT organization can use this link to see the saved View, as long as they have access to the underlying Snowflake account and resources.

