
Connecting SAML Identity Provider
SELECT's SAML integration is an add-on feature. Please contact SELECT to determine your eligibility and receive a quote.
To manage access and authentication to SELECT using a SAML identity provider (IdP), please follow the steps below.
Step 1: Register SELECT with IdP
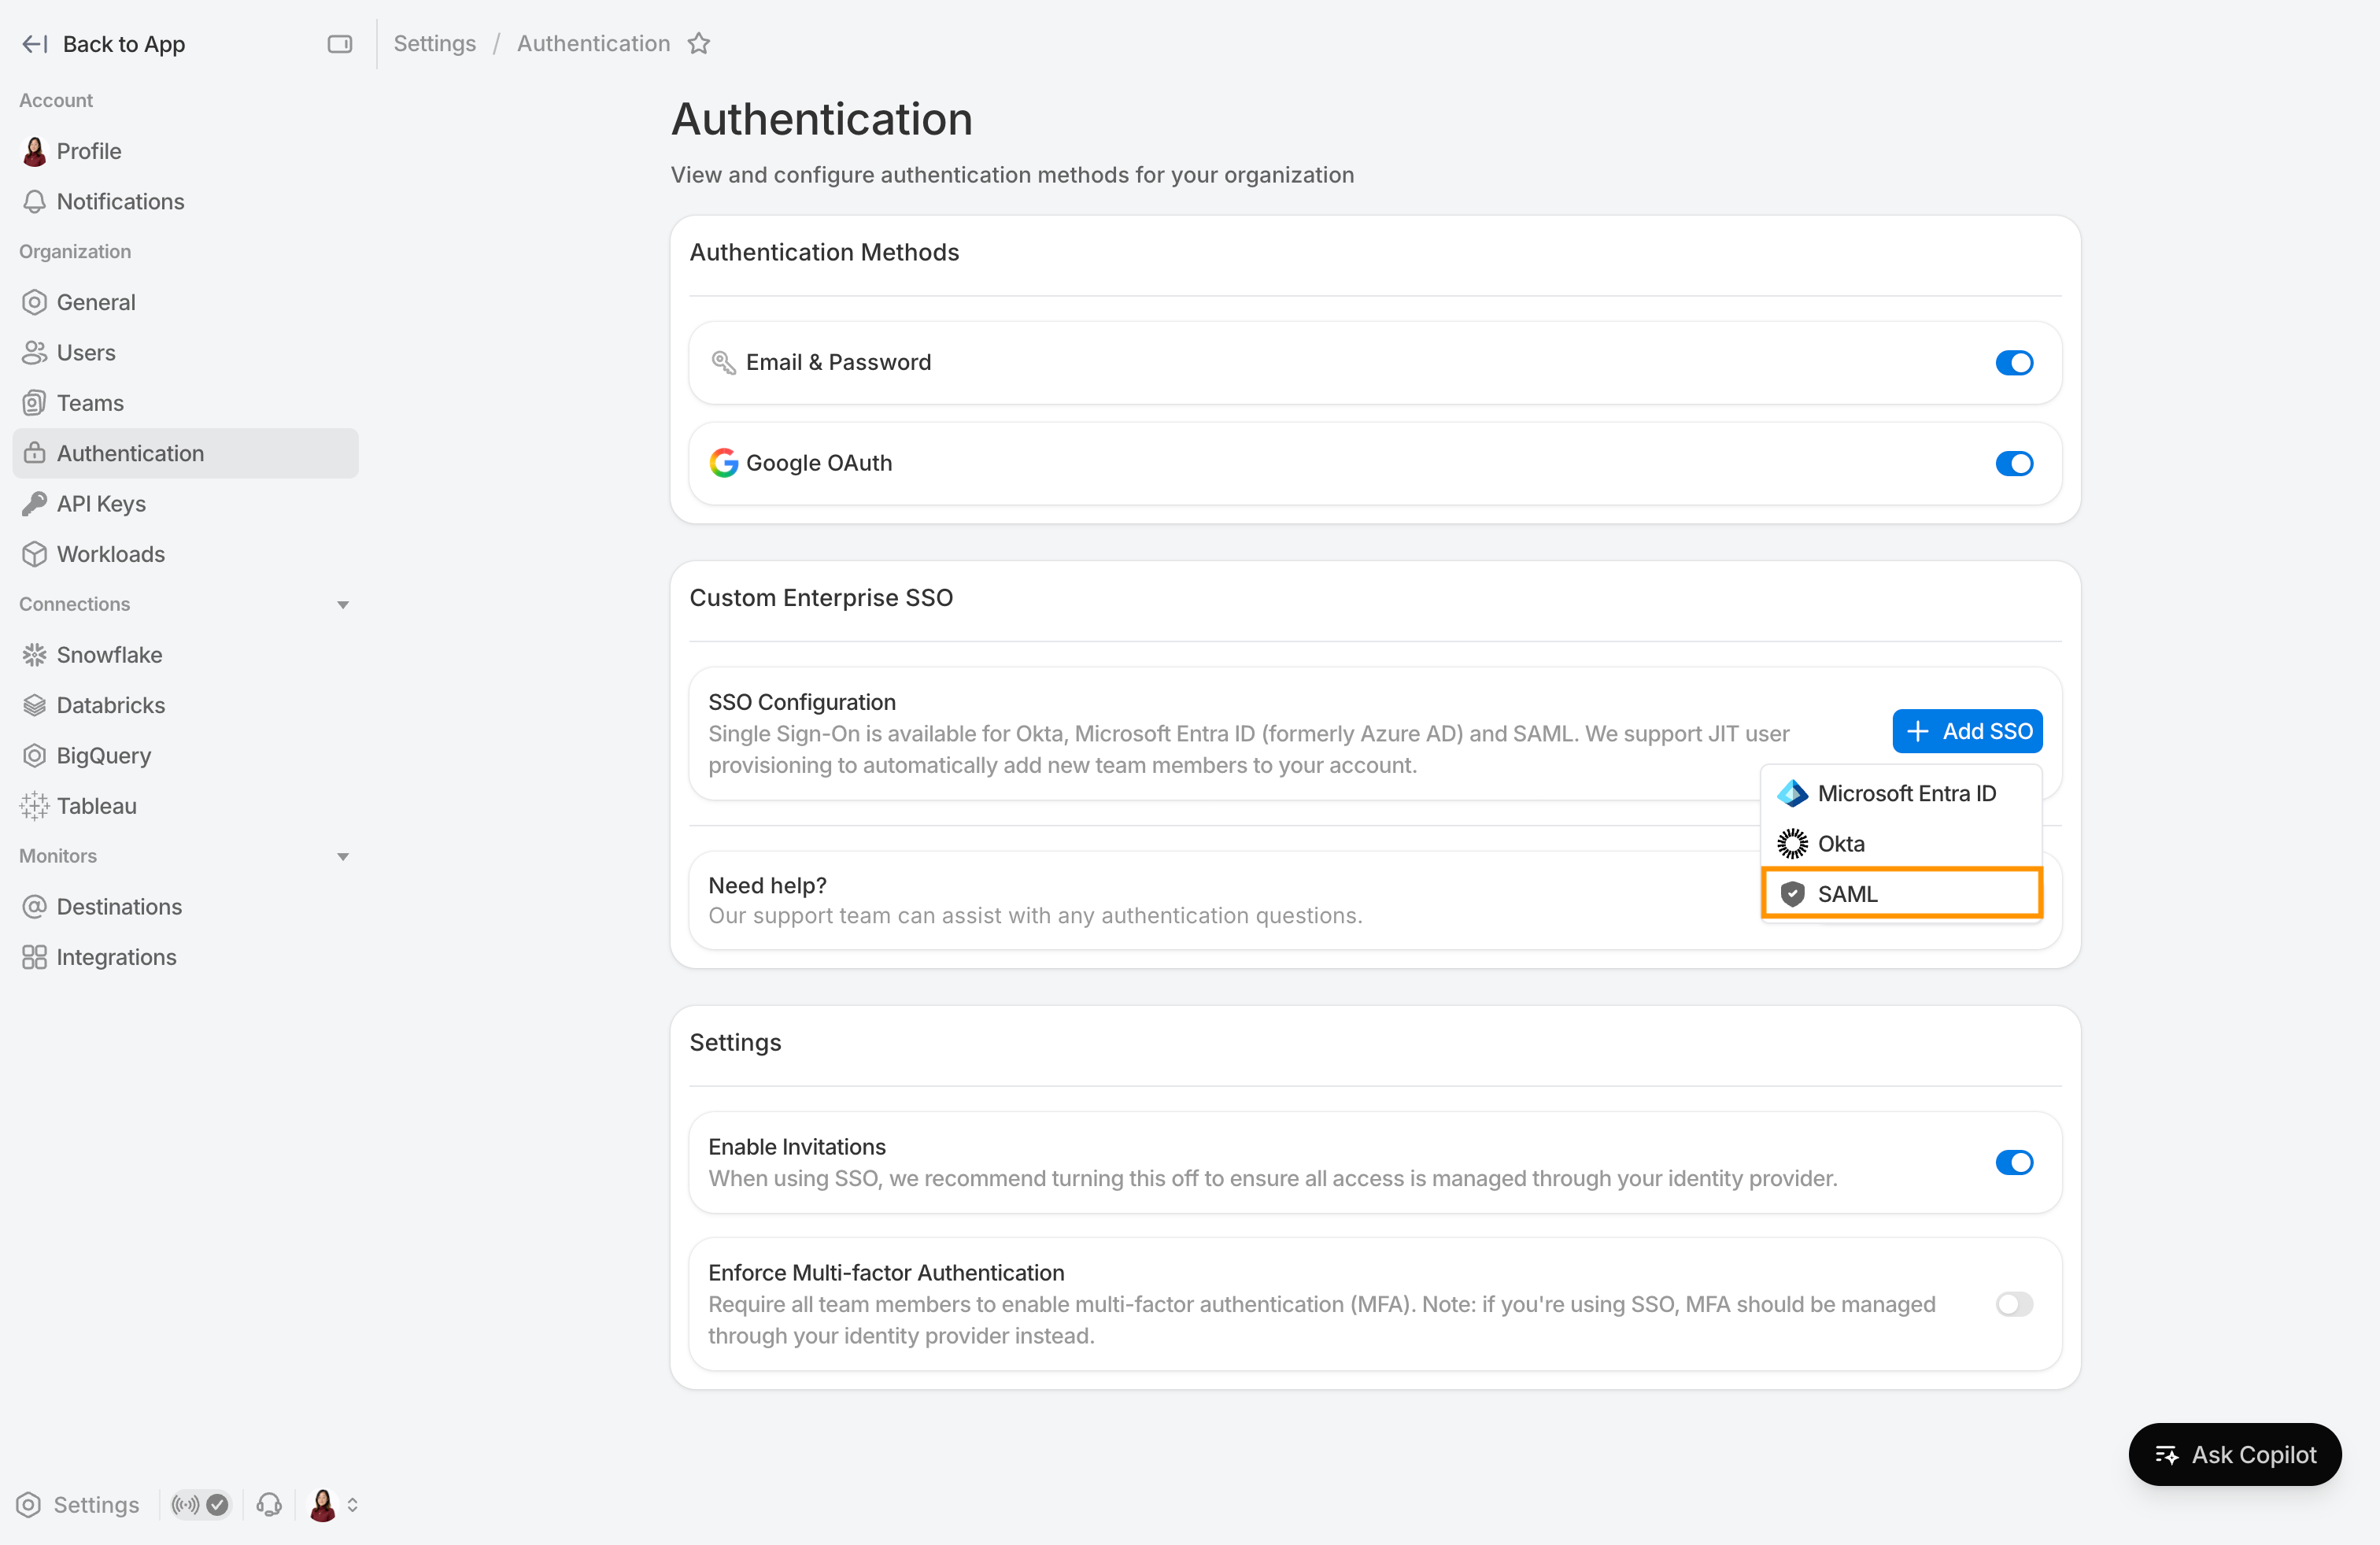
Navigate to Settings → Authentication. Click Add SSO and then select SAML in the dropdown.
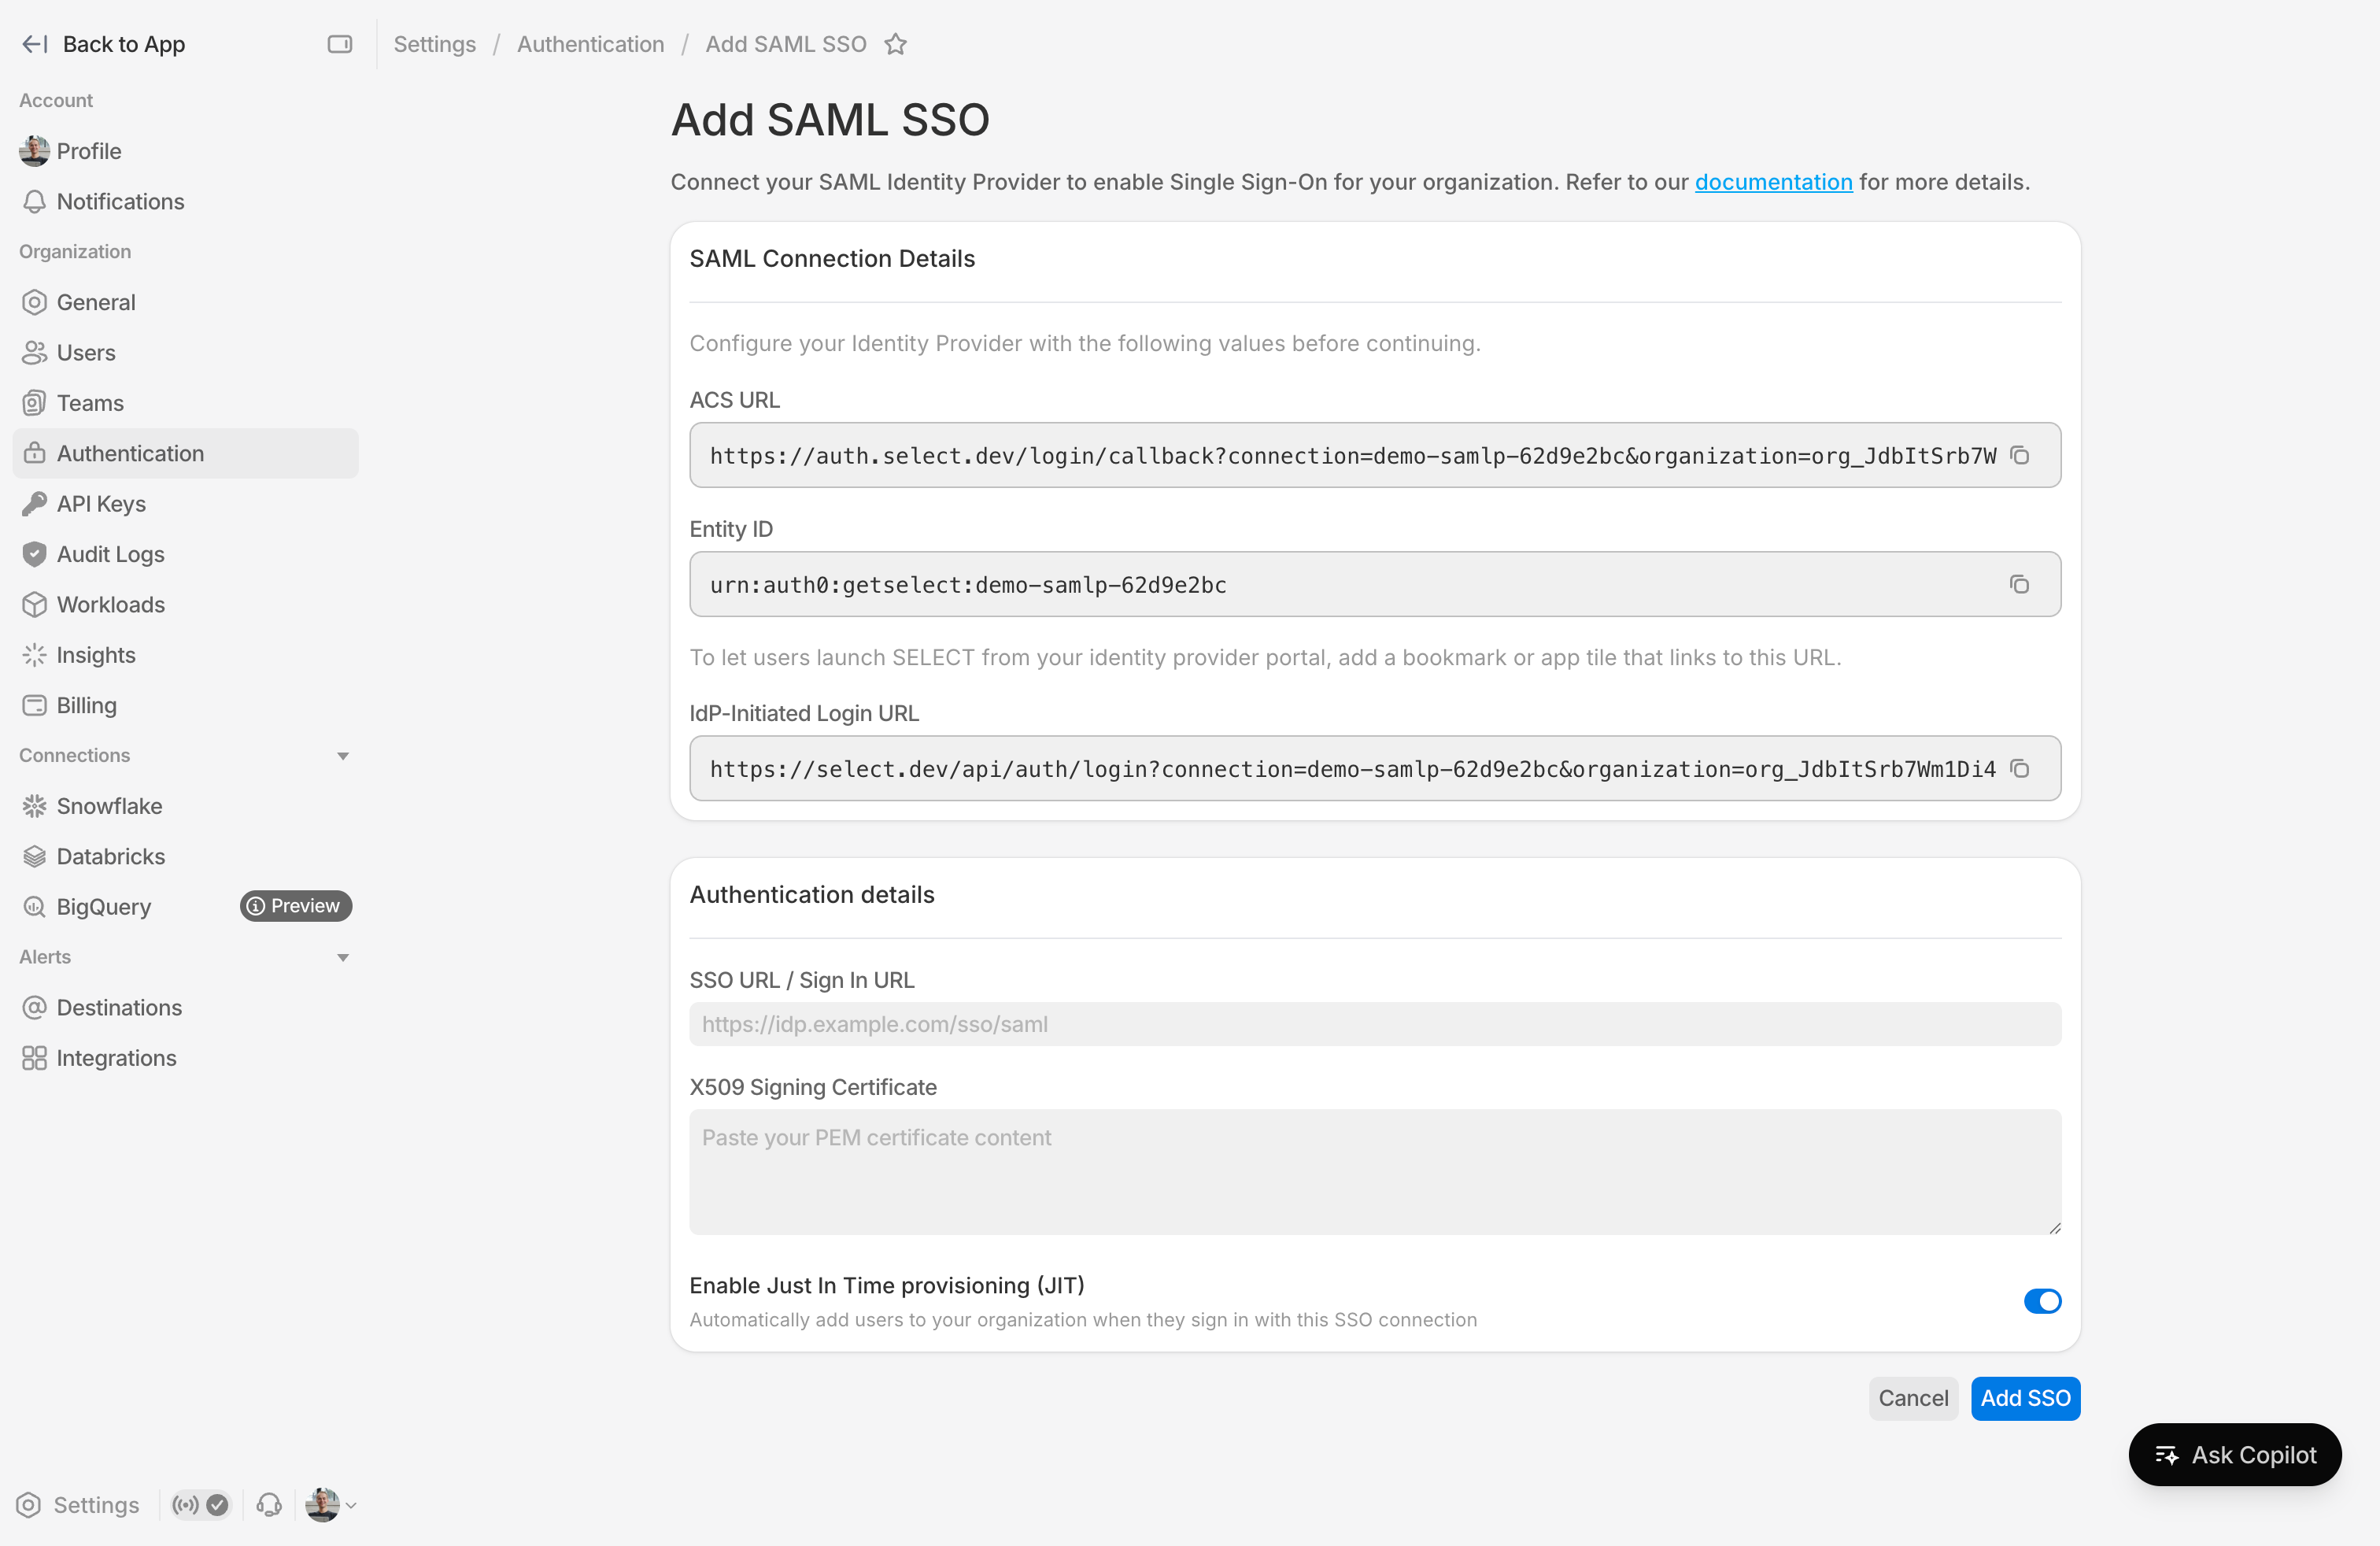
The SAML Connection Details section will display the values ACS URL and entity ID. Please enter both at your IdP. The specific methods for doing so will vary, so please see your IdP's documentation if you need additional assistance.
Step 2: Add SSO Connection in SELECT
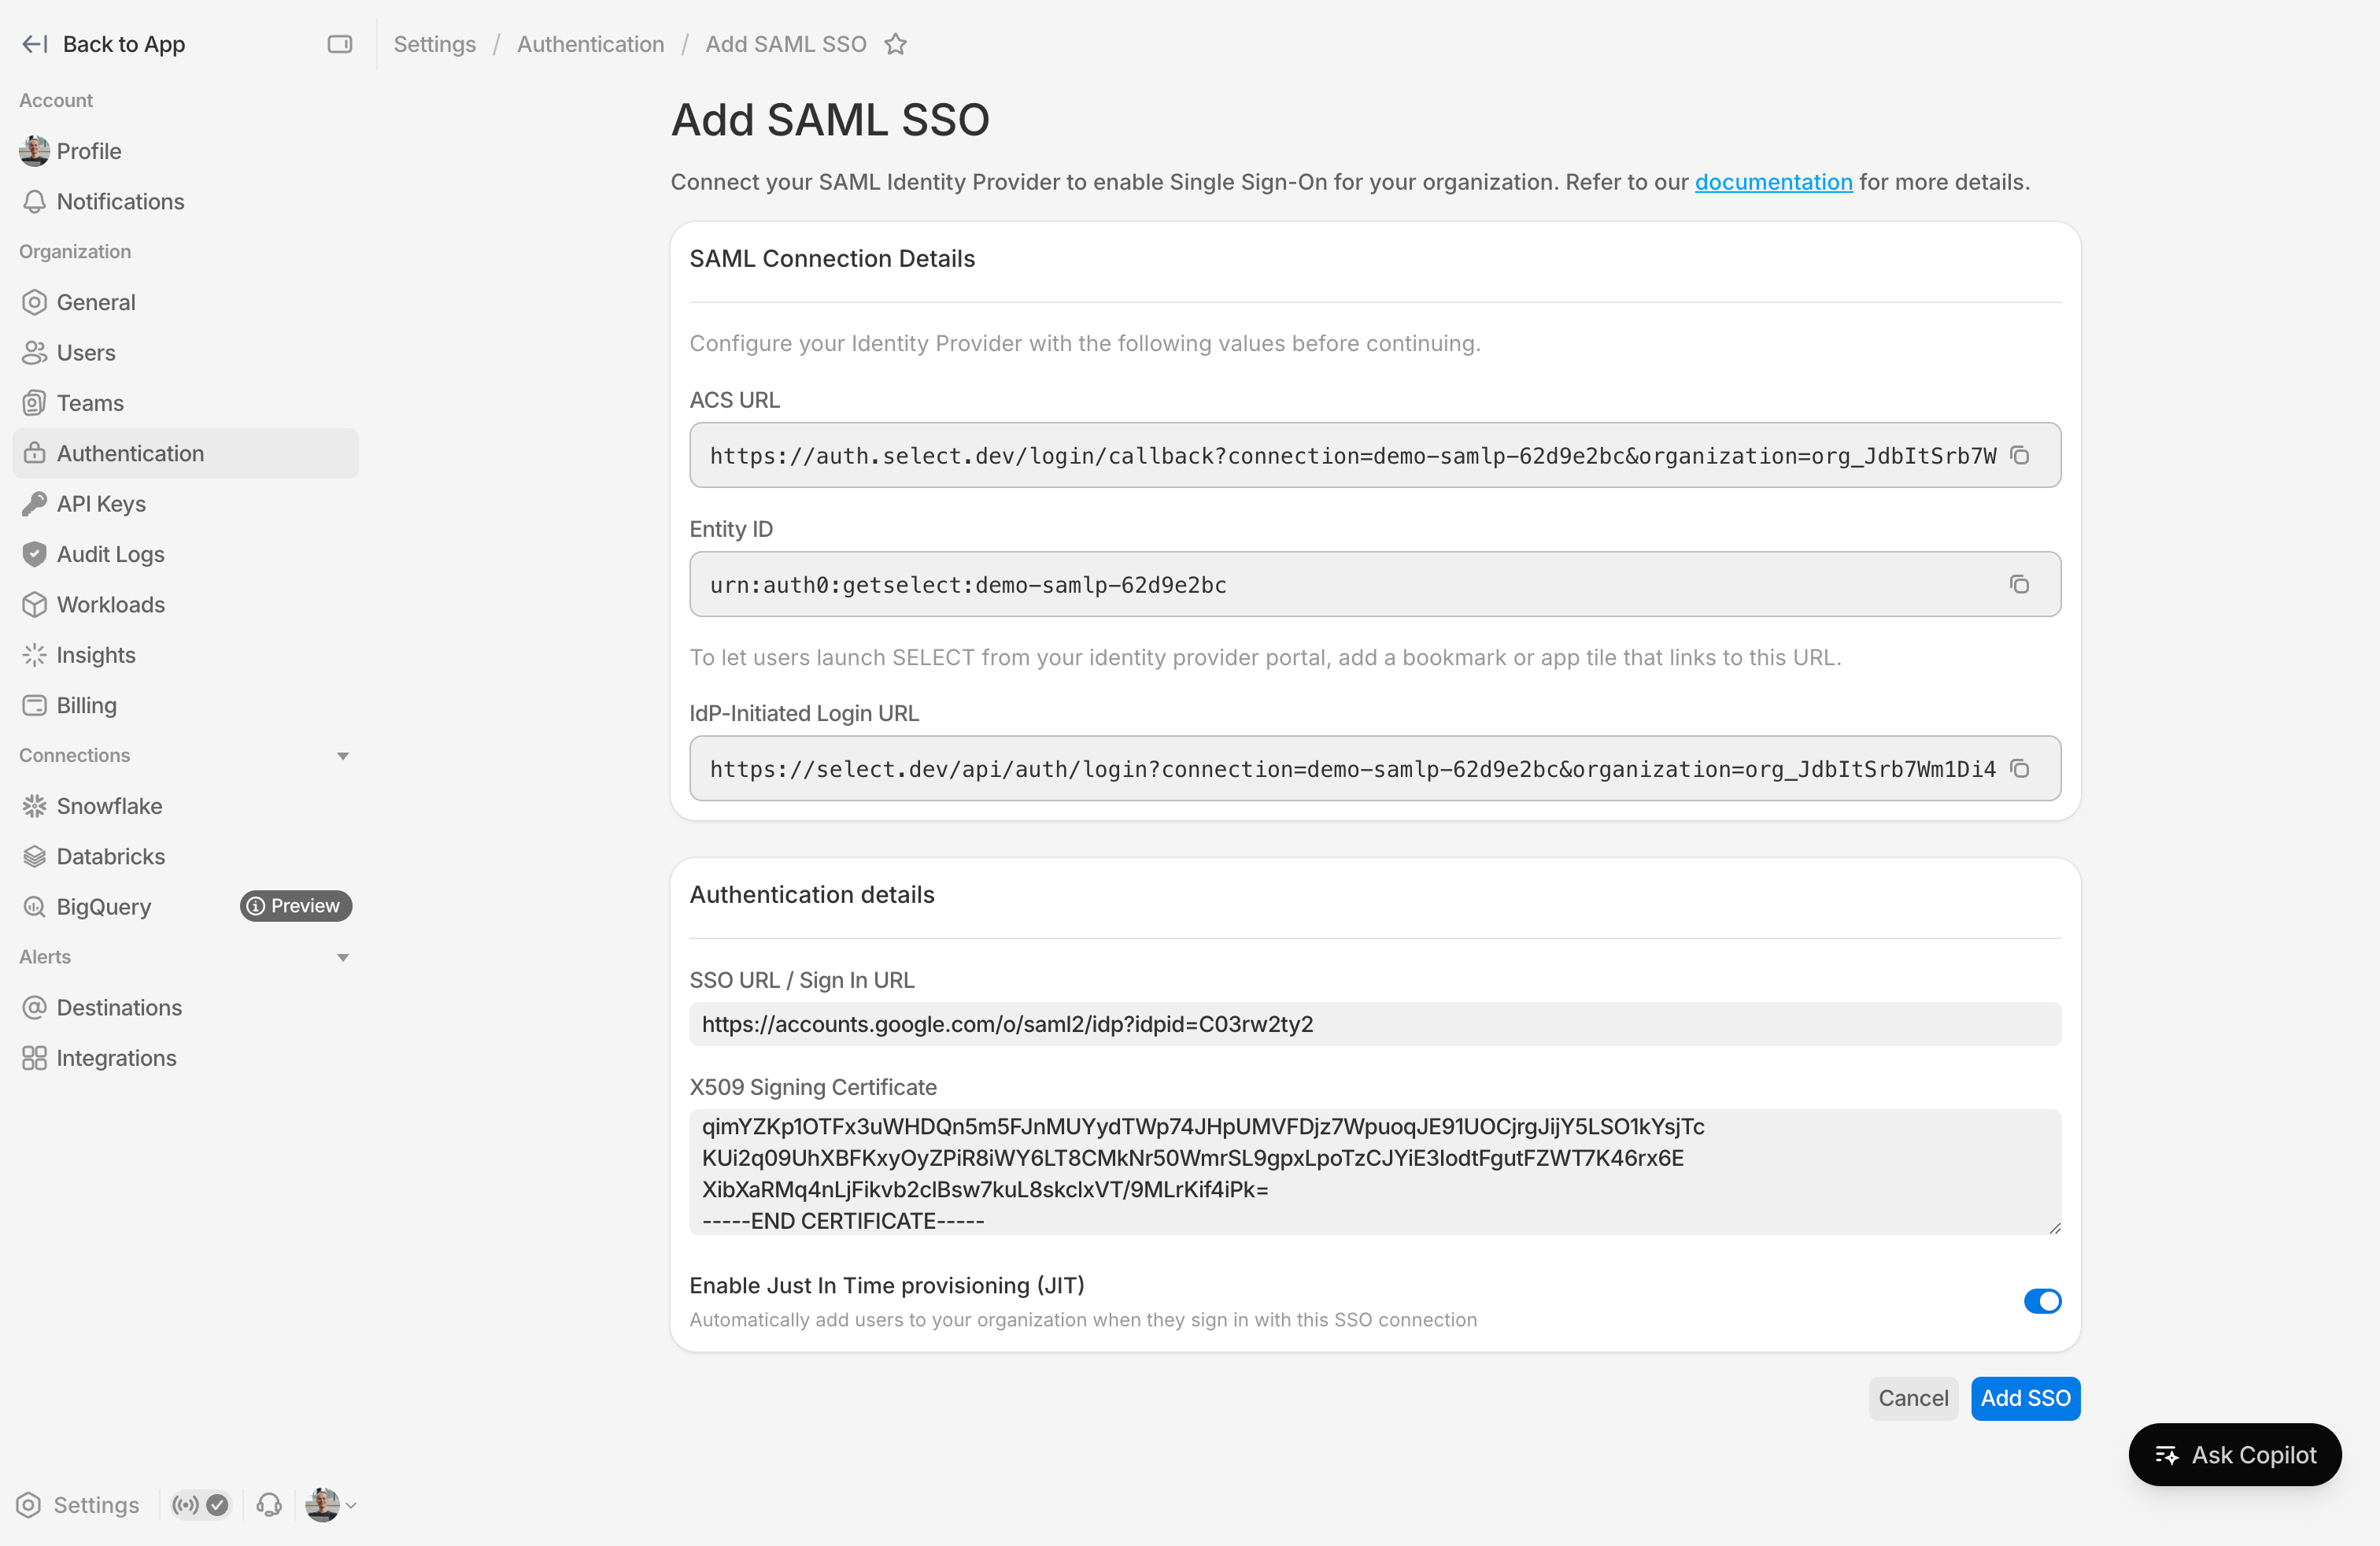
Once your IdP is configured, complete the form using the following values obtained from the SAML IdP:
- Sign in URL
- X.509 signing certificate (in either PEM or CER format). You will need to convert the contents of the file to Base64 before entering it, which can be done using an online tool or with the following Bash command:
cat signing-cert.crt | base64
Click Add SSO to complete. You should then see your newly created SSO connection under Authentication Methods.
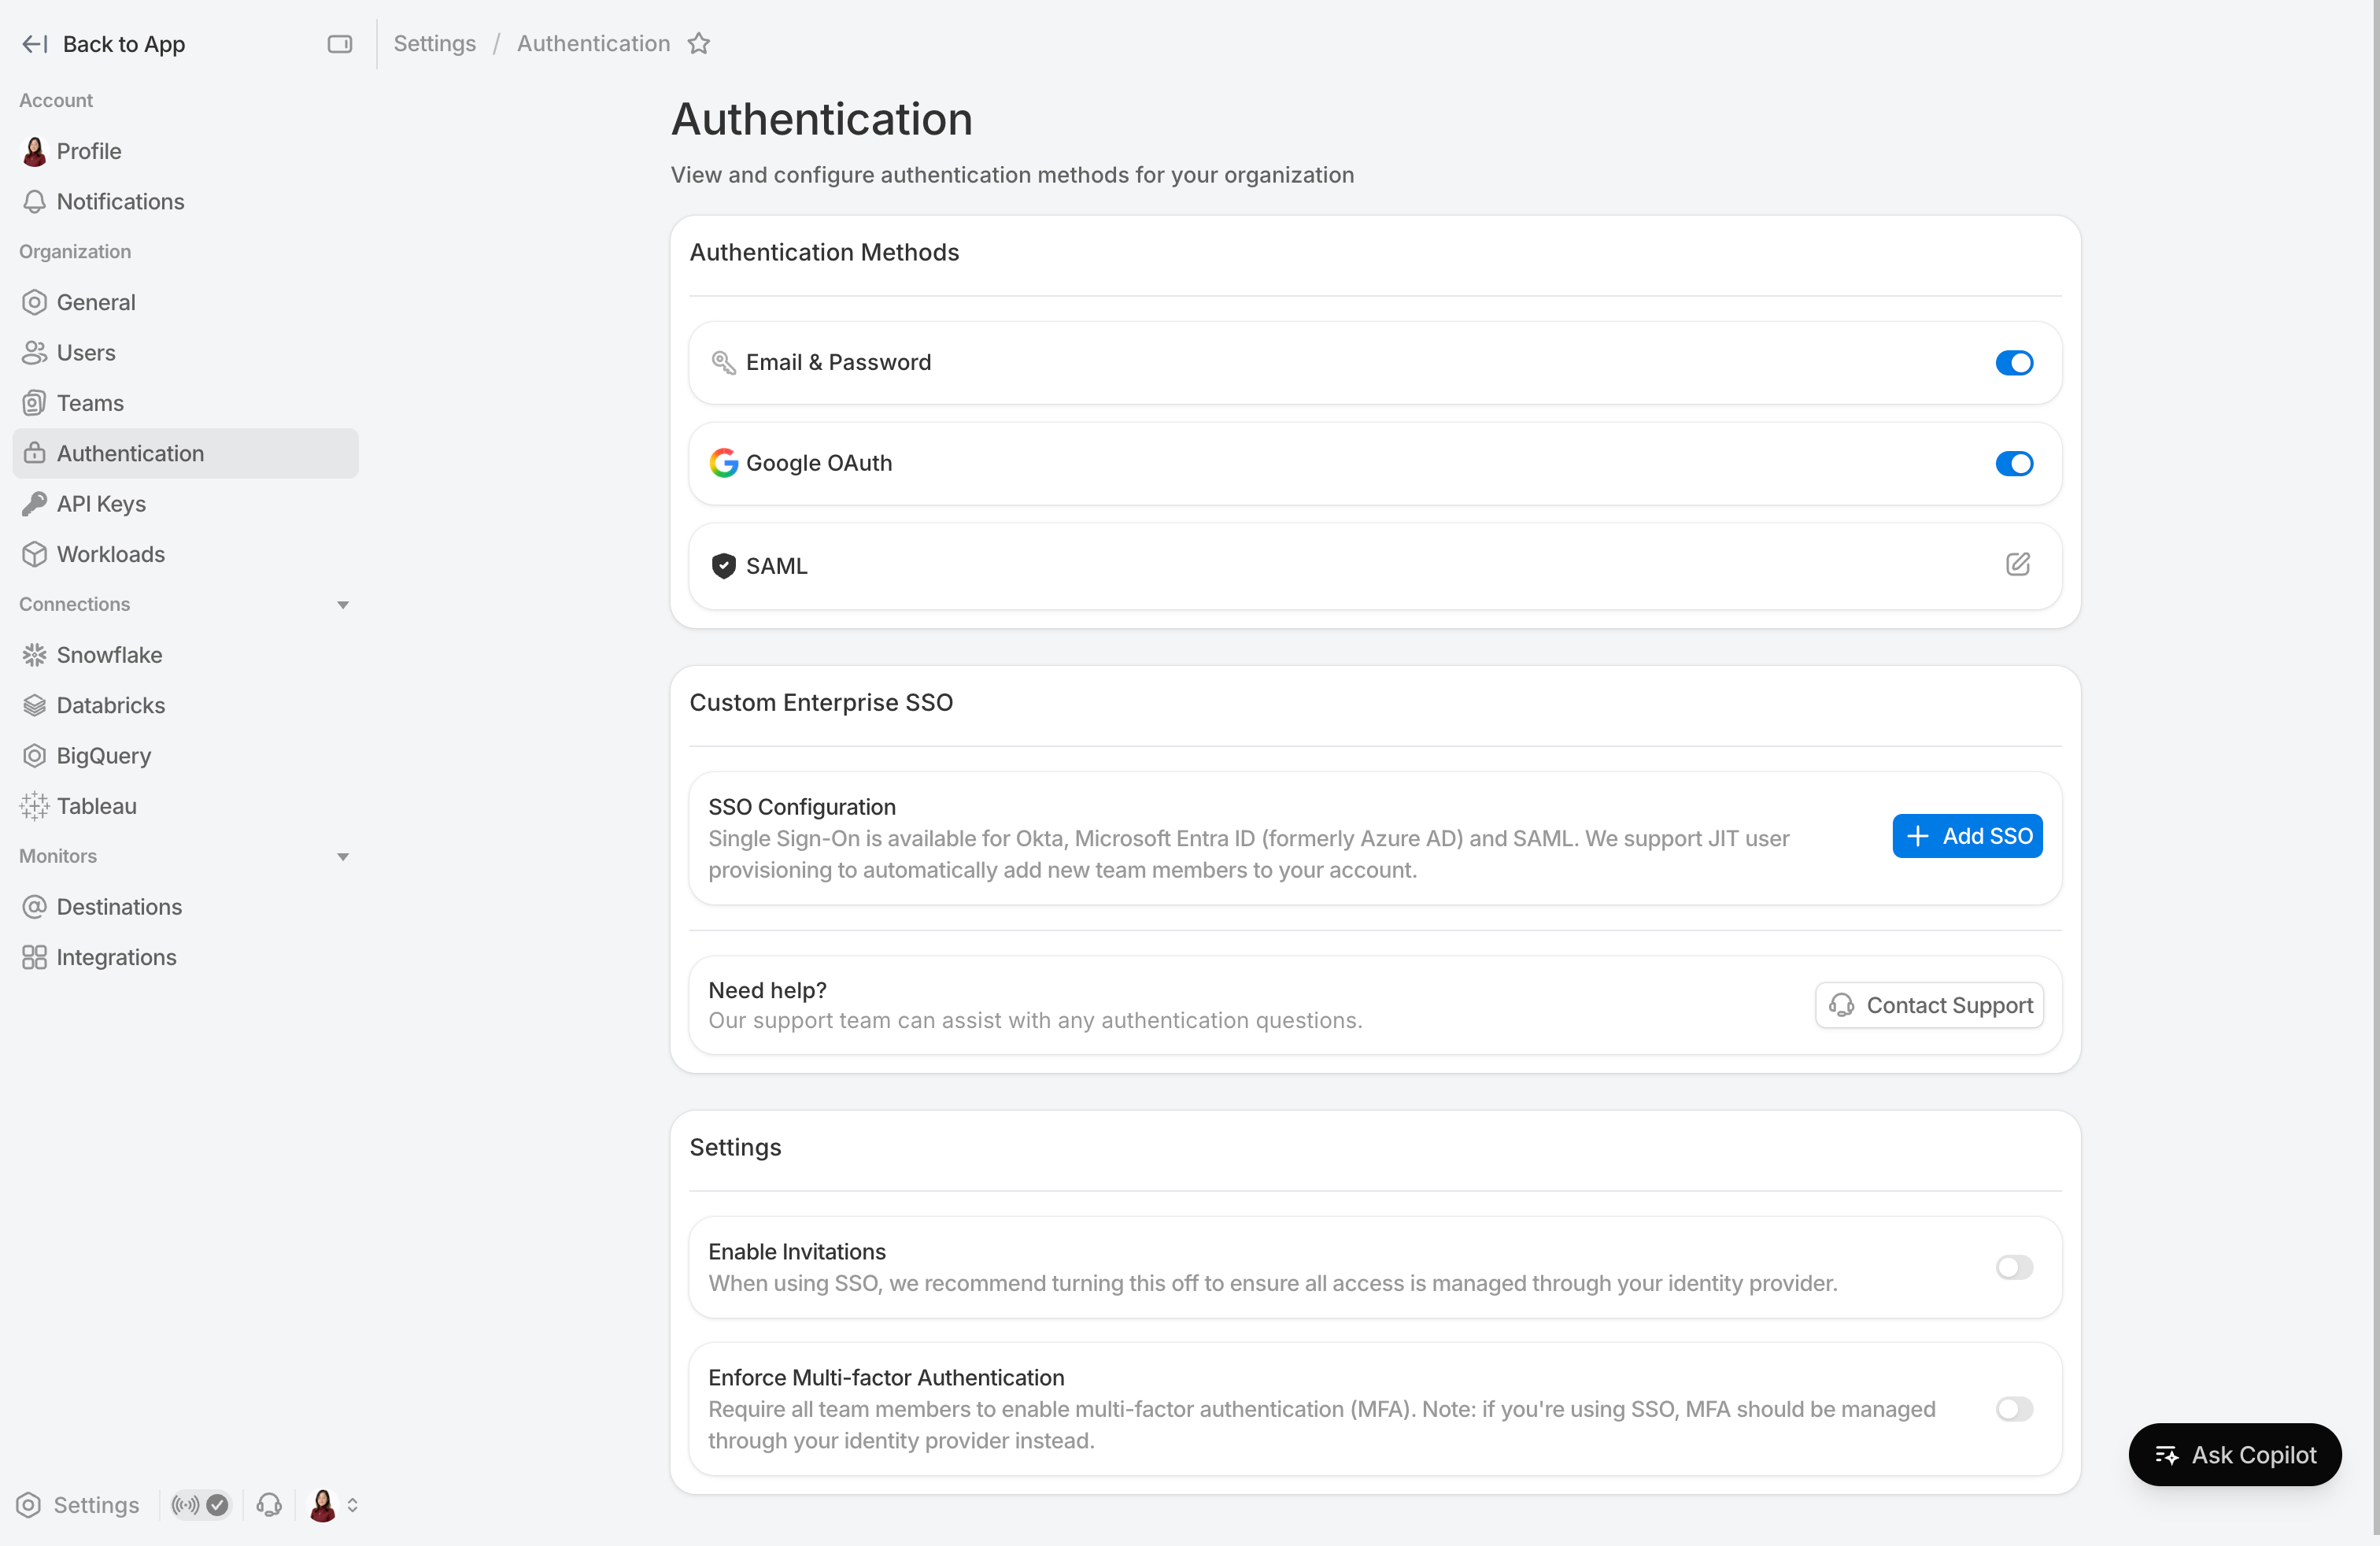
Creating an SSO connection will automatically disable manual user invitations.
Step 3: Enable login from your Identity Provider portal
In the SAML Connection Details section, copy the IdP-Initiated Login URL and add it to your identity provider as a bookmark or linked app - for example, a Bookmark App in Okta or a linked app in Entra ID. Do not add it as a SAML application.
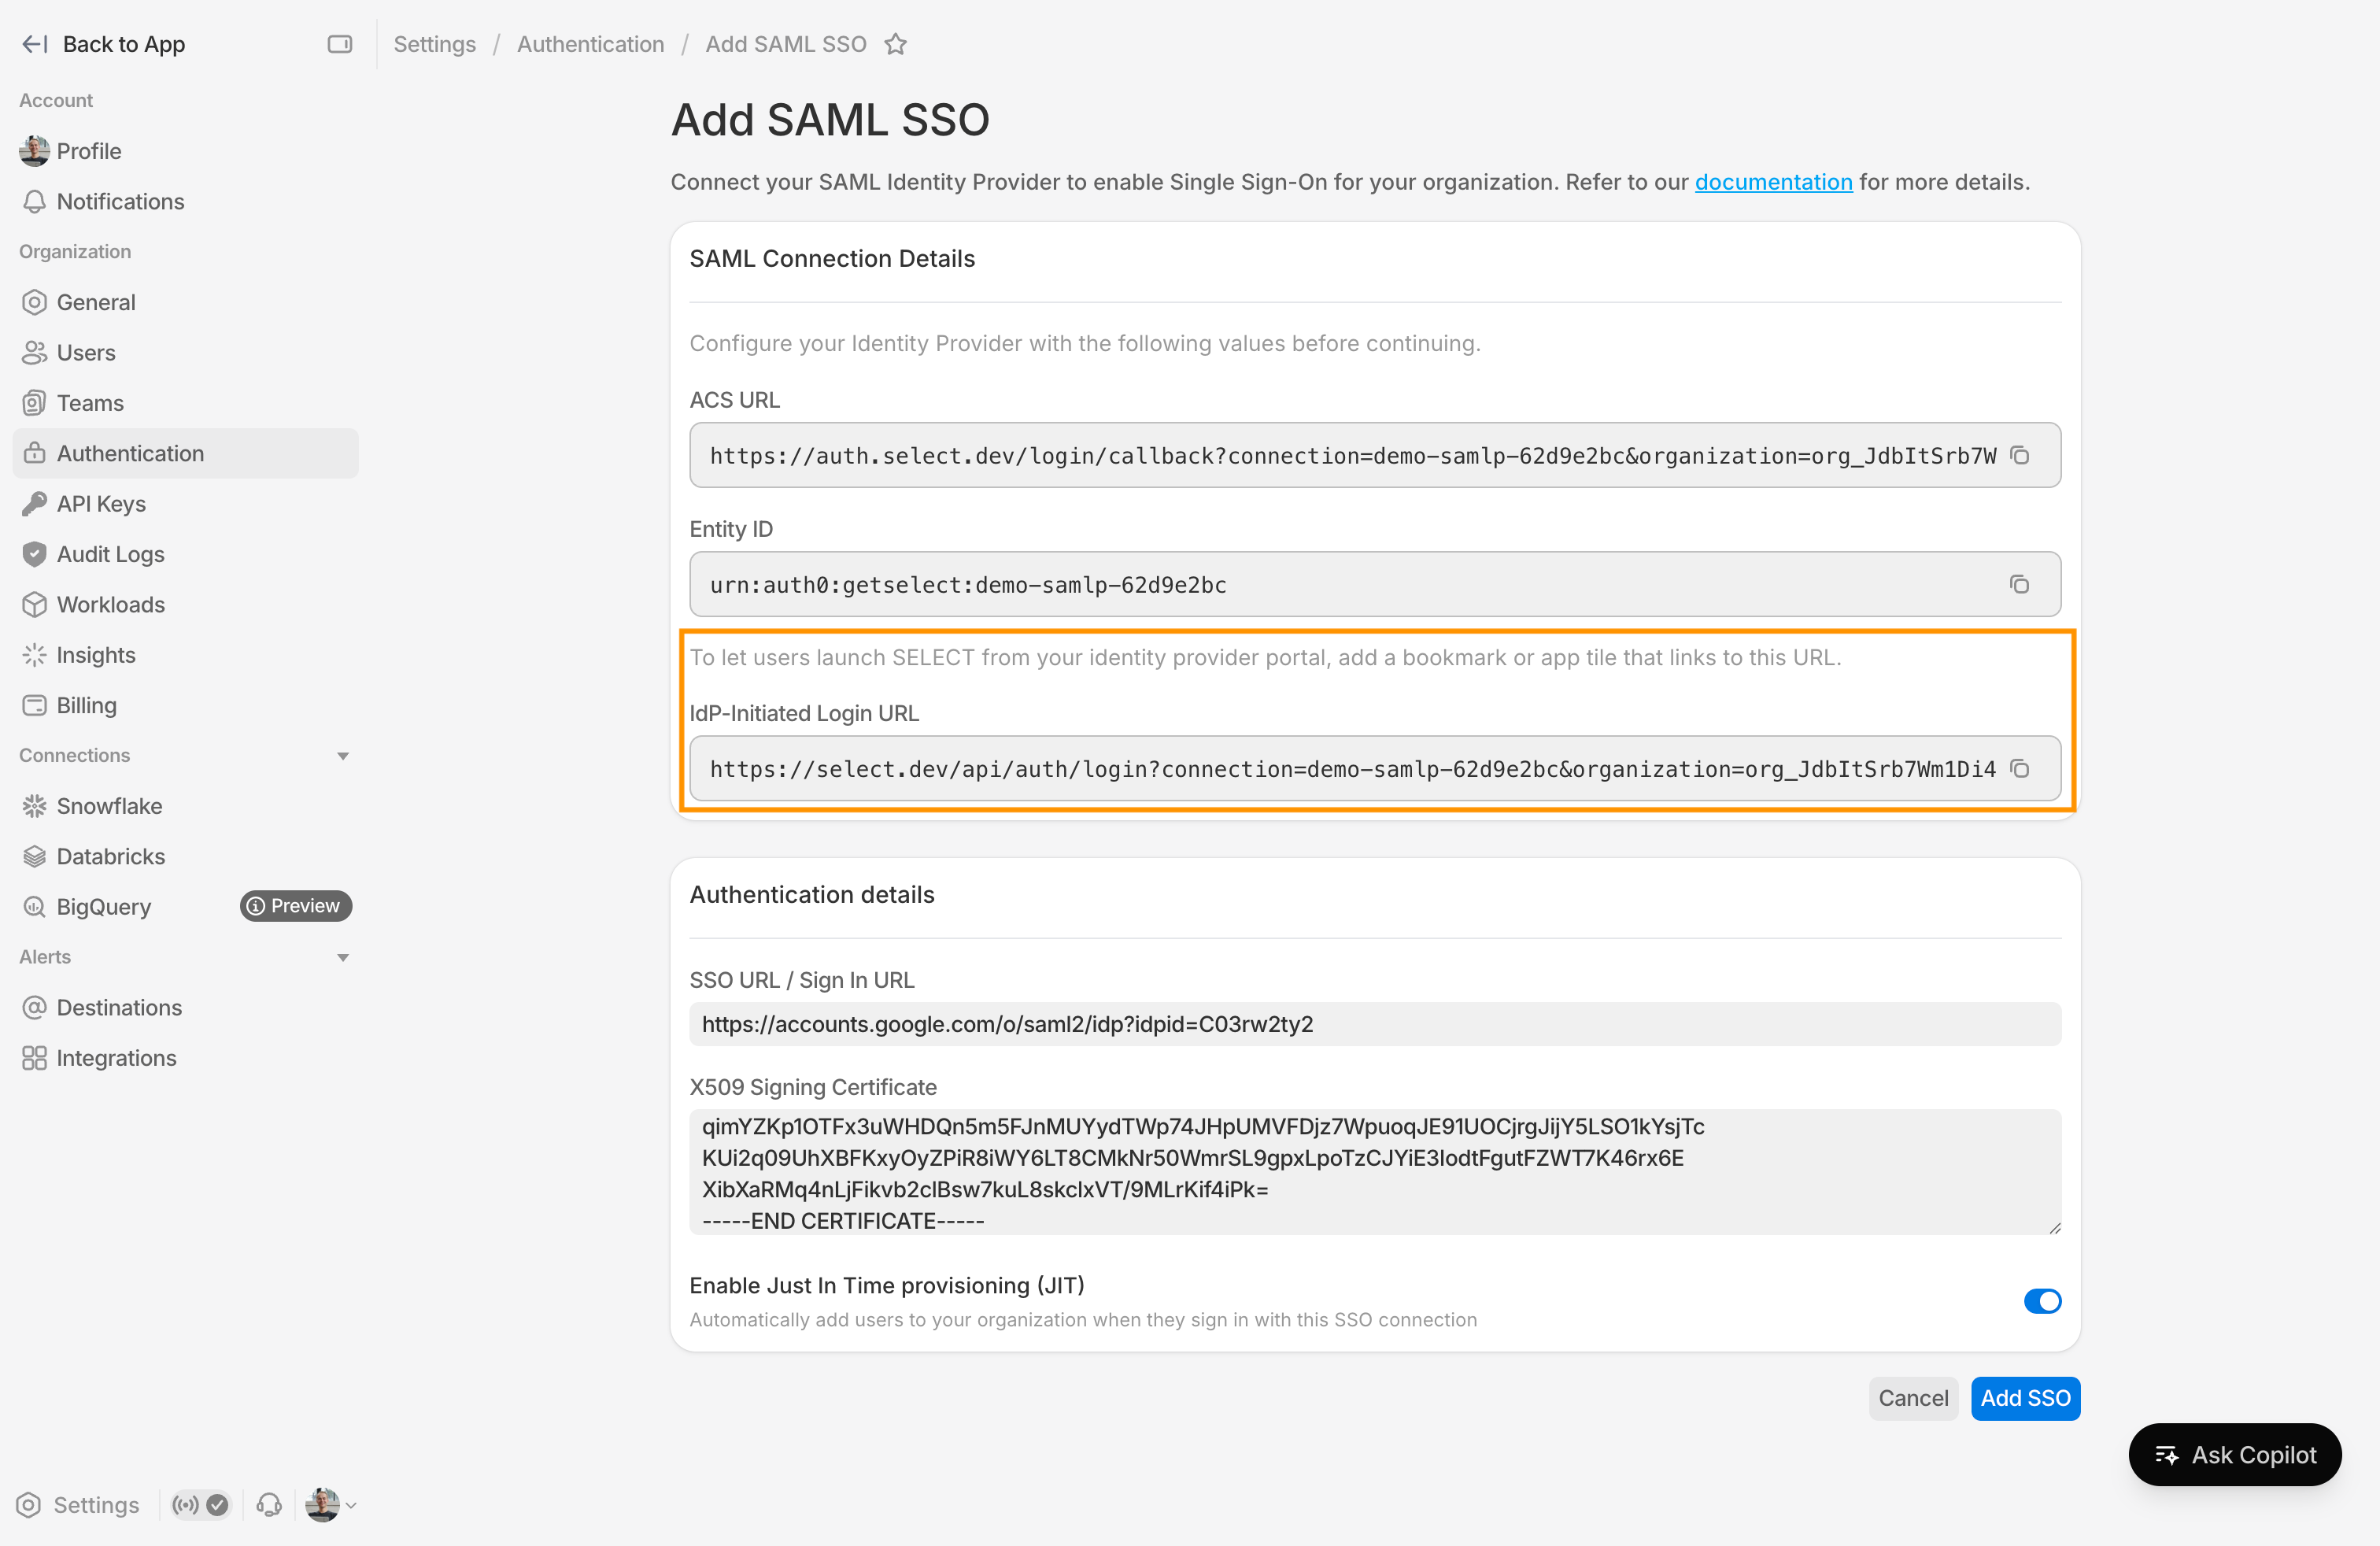
Note that SELECT rejects identity-provider-initiated assertions as a security best practice, as the app cannot verify logins it did not initiate, and accepting unsolicited sign-ins would expose users to login CSRF (an attacker forcing a user into a session). Using the provided login URL ensures a SELECT-initiated login flow that is verified.