

Most SELECT customers will provide SELECT access to their users using our out of the box roles, typically giving them a viewer or editor role on the Snowflake account.
However, certain customers may wish to further restrict access within a single Snowflake account. For example, you may want to only allow a user to see specific warehouses/databases that are owned by their team.
In SELECT, you can accomplish restrict a user’s access within a Snowflake account through Usage Groups.
Create thoughtful Usage Groups
To limit a user to only see specific resources in a Snowflake account, you need to first create Usage Groups. The user's access will then be restricted to one or more Usage Groups.
The first step is define clear and thoughtful Usage Groups.
One approach would be to assign Usage Groups to teams within your org. In this case we can create a Usage Group Set called “RBAC Teams” or just “Teams”, and the individual groups within the set can be something like “HR”, “Finance”, “Accounting”, “Product Supply”, etc.
Warehouses, databases and other resources can then be assigned to each Usage Group. For details on the mechanics of creating Usage Groups and Sets, see our docs page.
Create a Team and assign Roles to the Team
The next step is to create a Team.
- Click the gear icon in the bottom left
- Click Teams in the sidebar
- In the top right, click “Create Team”.
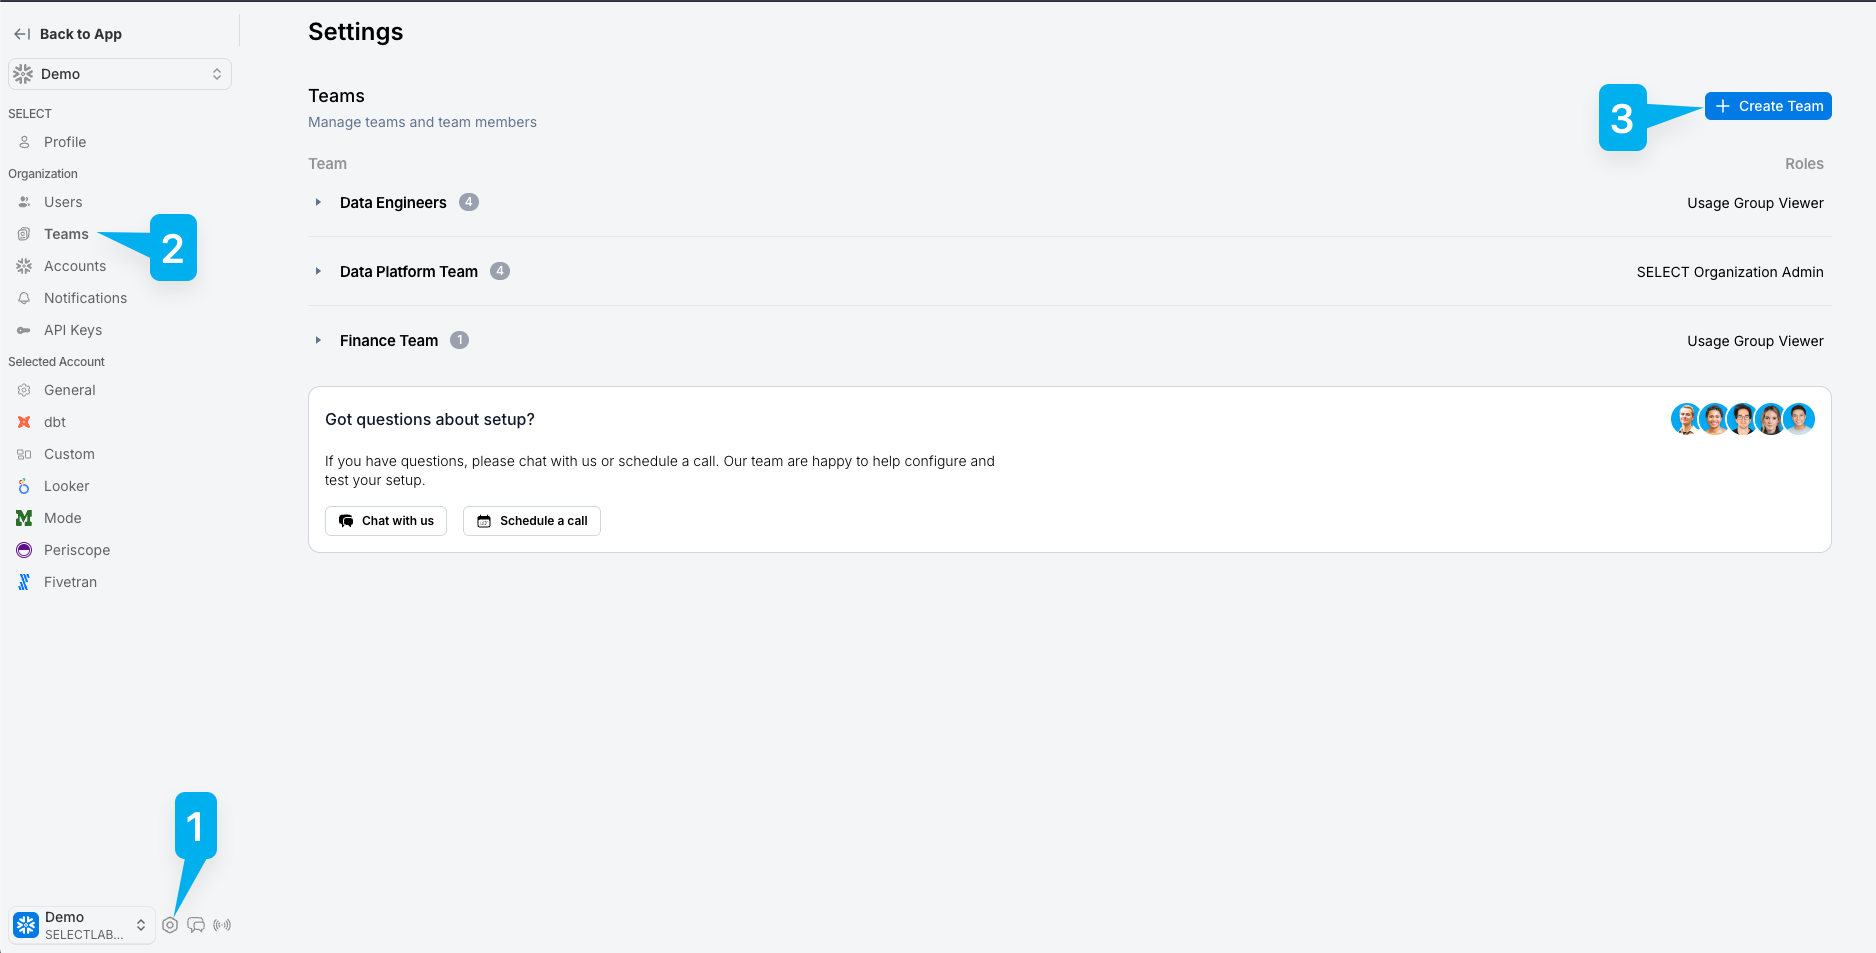
After you click “Create Team”, a right side panel will pop out. Here, you can give the Team a name and assign roles.
When you use Usage Groups as the entity for access control, the only role that can be assigned at the Team level is Viewer. This means a member of the team cannot edit the Usage Group itself, which would widen their own access.
Add members to Teams and set the permission level of Team members
Manually add Team members
After you save the team, click Add Members. Select a user name and give them Editor or Viewer “Team Resource Access”.
Assigning “Editor” will allow the user to do things like create and edit monitors, save views, and edit views belonging to that Team. Assigning “Viewer” will make the user read-only across the SELECT platform, assuming no other roles are applied to the user.
Automatically assign users to Team through SSO Groups
To avoid manually adding members to a team, you can automatically assign them to teams by setting up an SSO Group mapping.
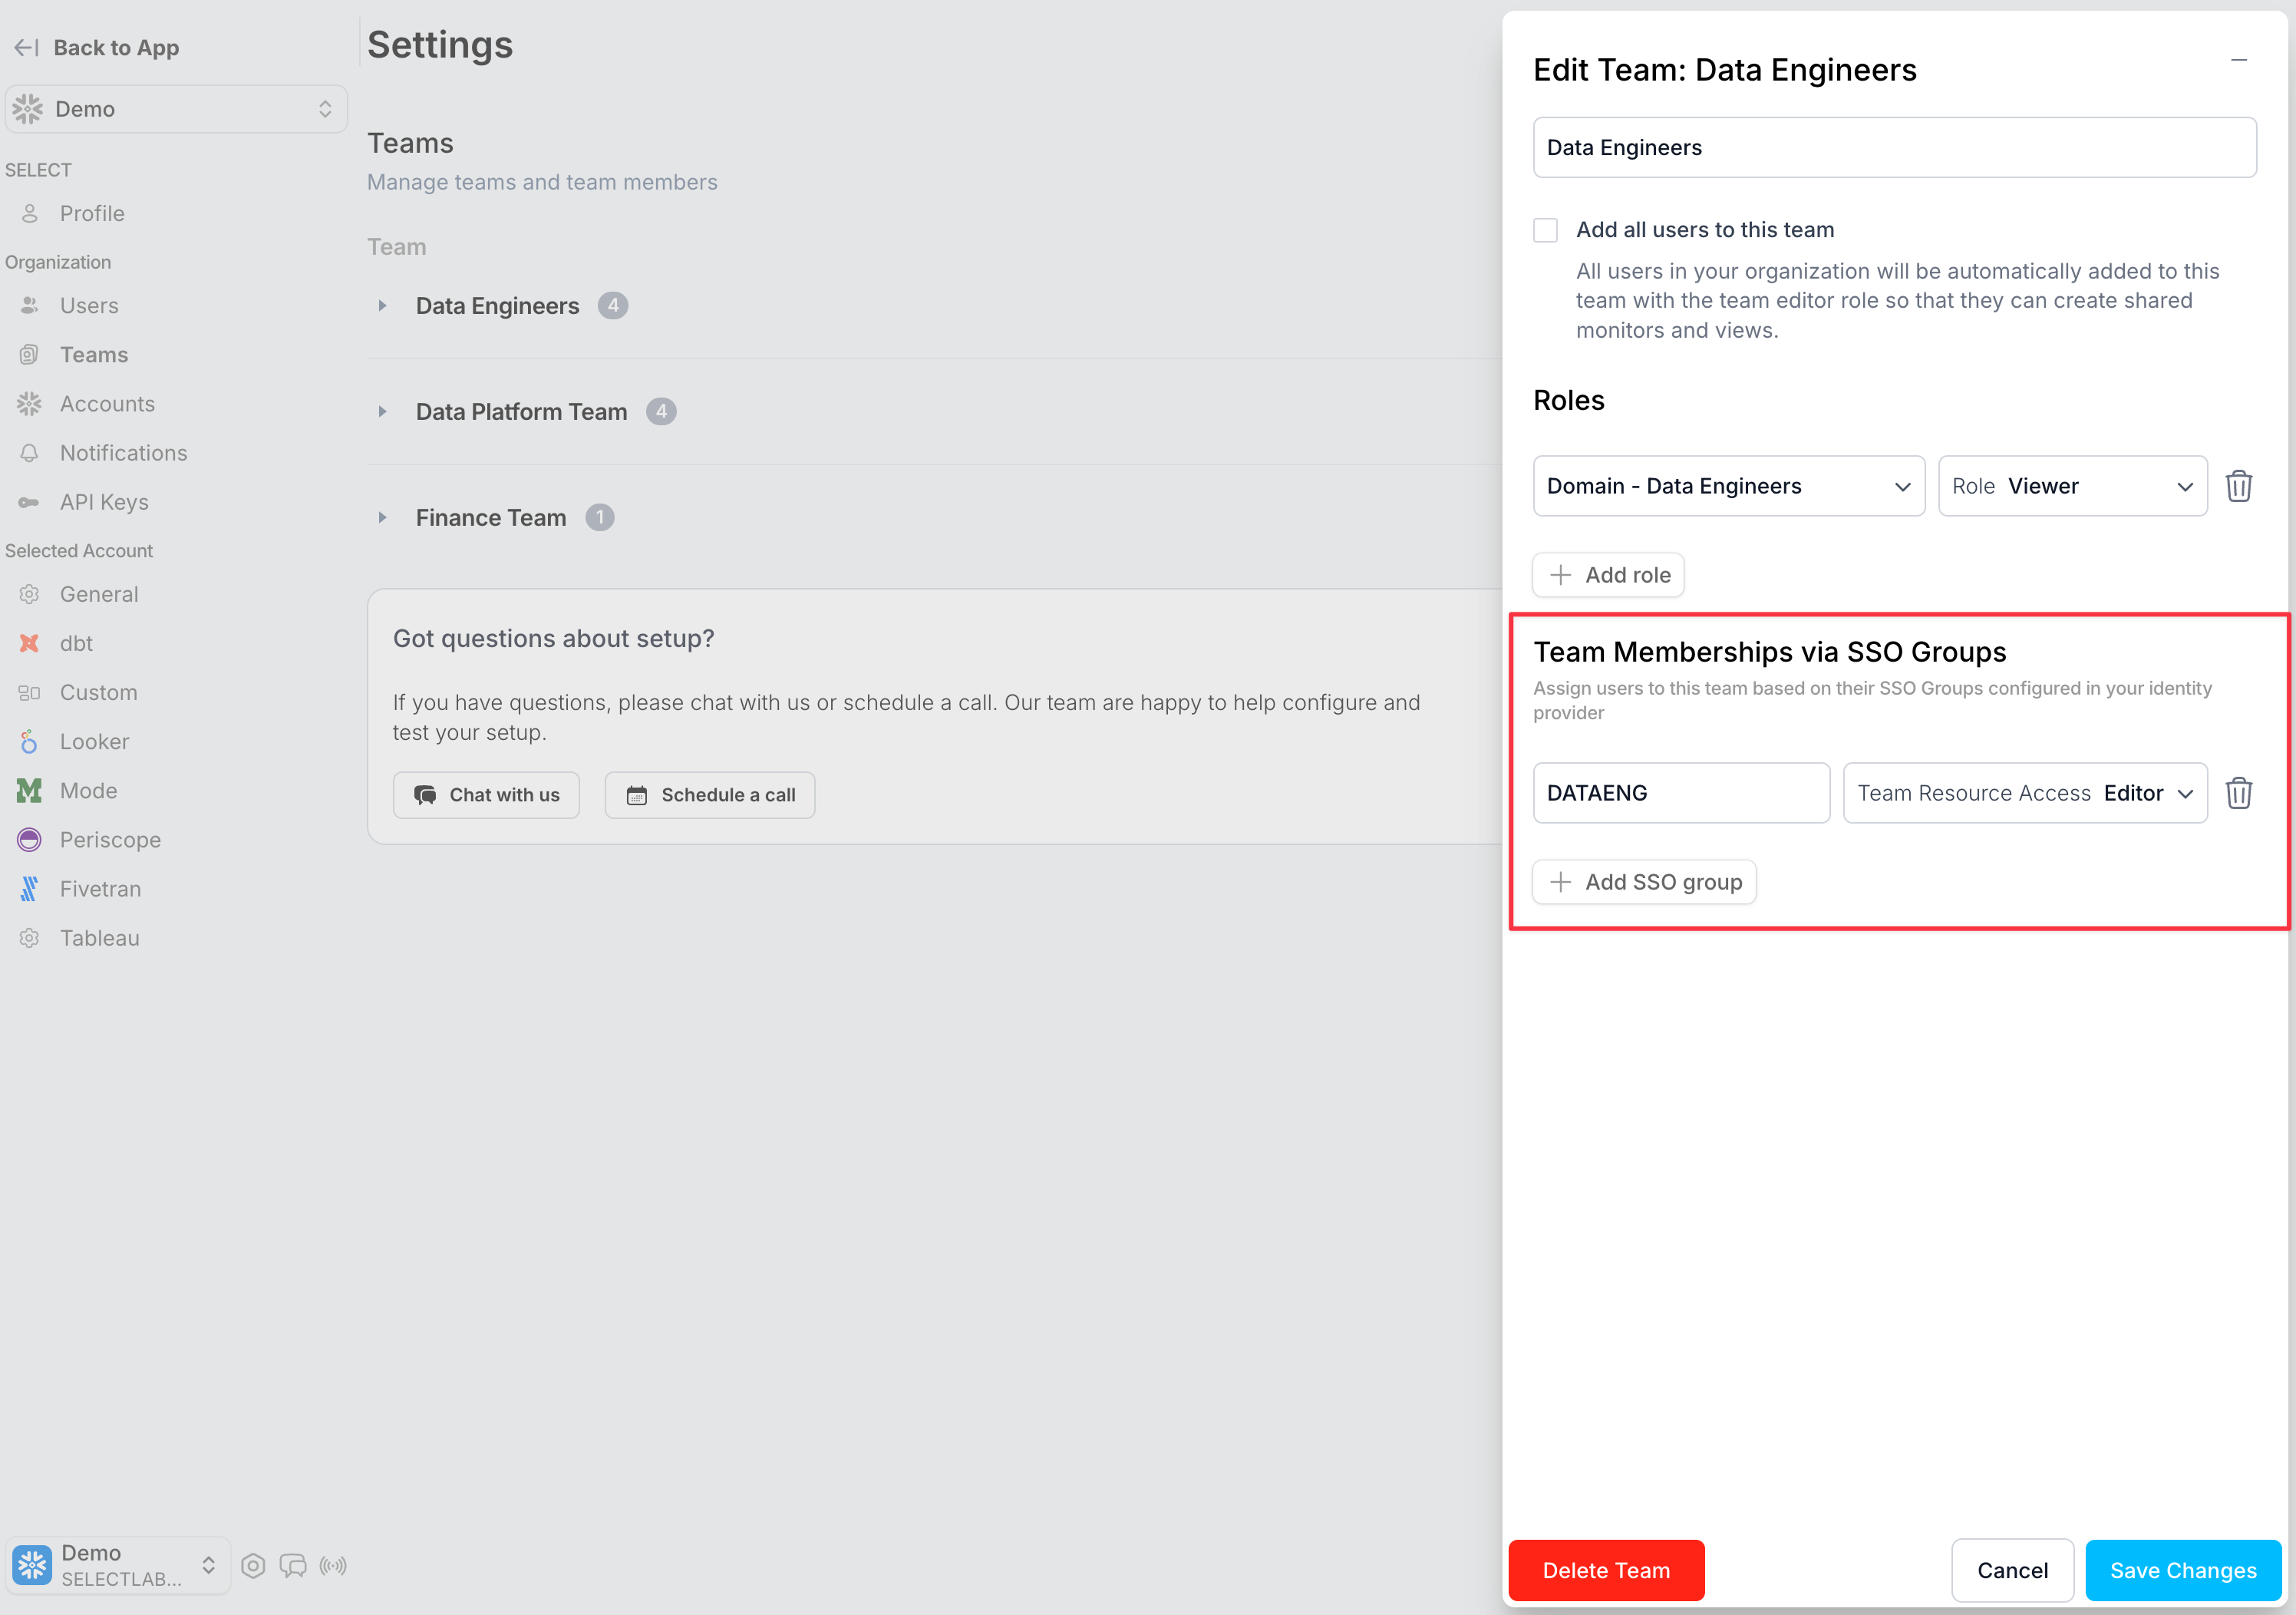
SSO Group mappings can be configured on the Team side panel, which can be accessed by clicking the Edit button beside the Team.
Under the Team Memberships via SSO Groups section, click Add SSO group. In the screenshot below, any user who is part of the DATAENG group in your SSO provider (Okta, Entra ID, etc.), will automatically get assigned to the Data Engineers team when they log in, and get the associated roles/permissions.
What the user sees
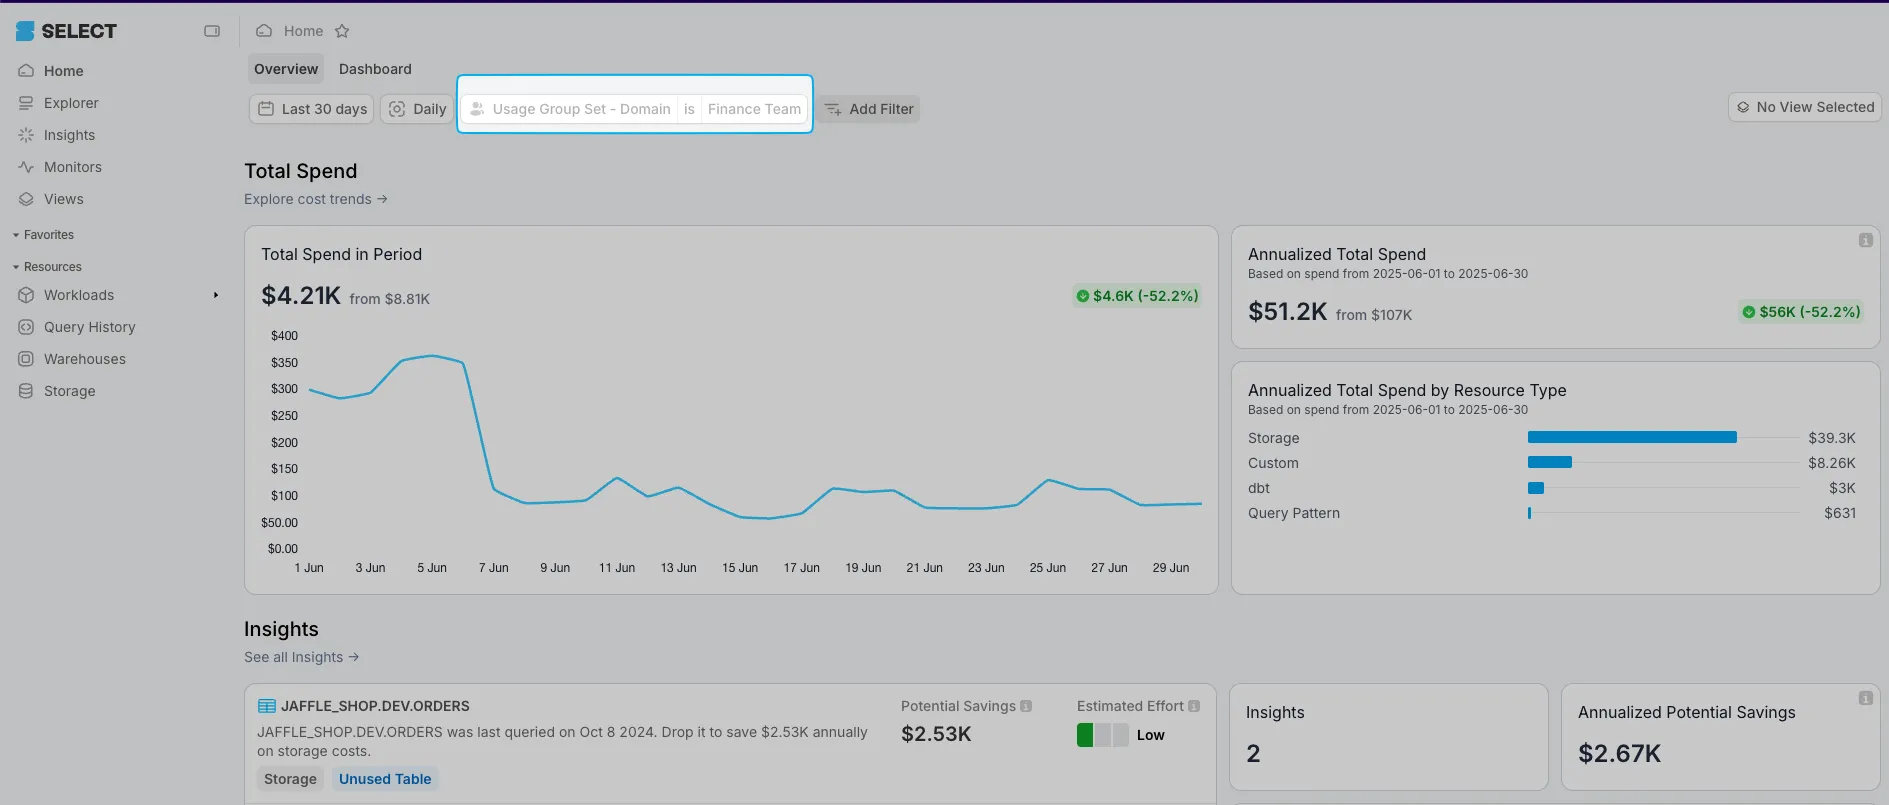
For a user who only has view access to a specific Usage Group every page in SELECT will be filtered based on the Usage Group they’ve been assigned.
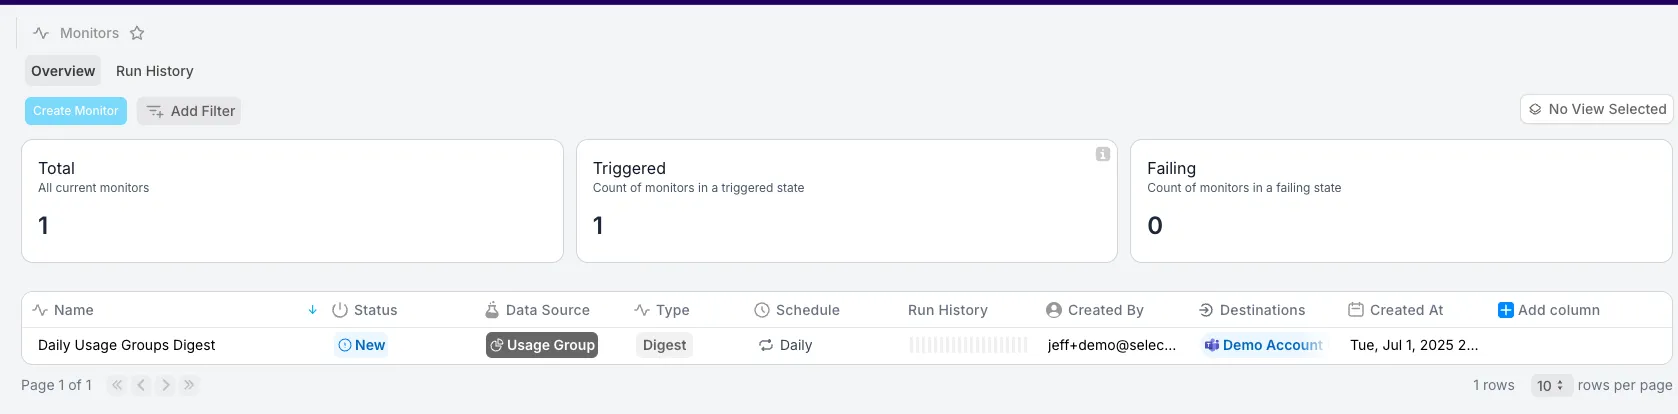
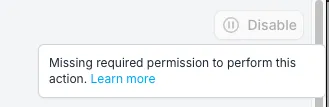
If a user has Viewer “Team Resource Access” assigned (and not Editor), things like “Create Monitor” will be greyed out. They also won’t be able to edit or disable an existing monitor.
For saving Views, the user with Viewer role cannot save a public or team view:
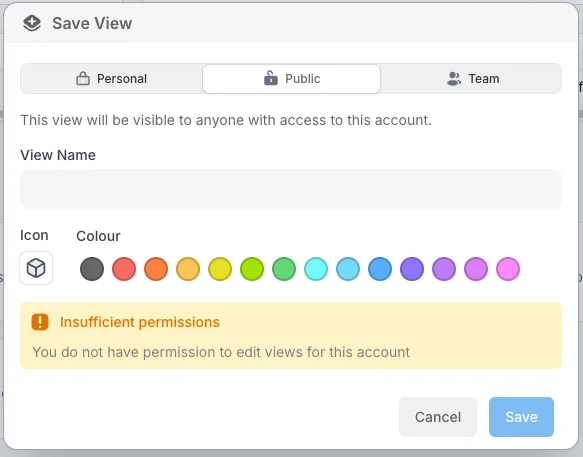
But they can save a Personal View.
Switching a user’s Team Resource Access to Editor will immediately enable them to create Monitors and save team Views.
Editing user’s access
Editing a user’s access can be done in two places. The first place we’ve already seen: Settings → Teams → then hit the expand arrow icon for the team you want to edit. From this screen you can Add Members, edit a member’s permission, or delete a member.

You can also edit a user’s permissions from the Settings → Users page. Click the “side peek” icon next to the user name.

Then edit the permission in the sidebar.
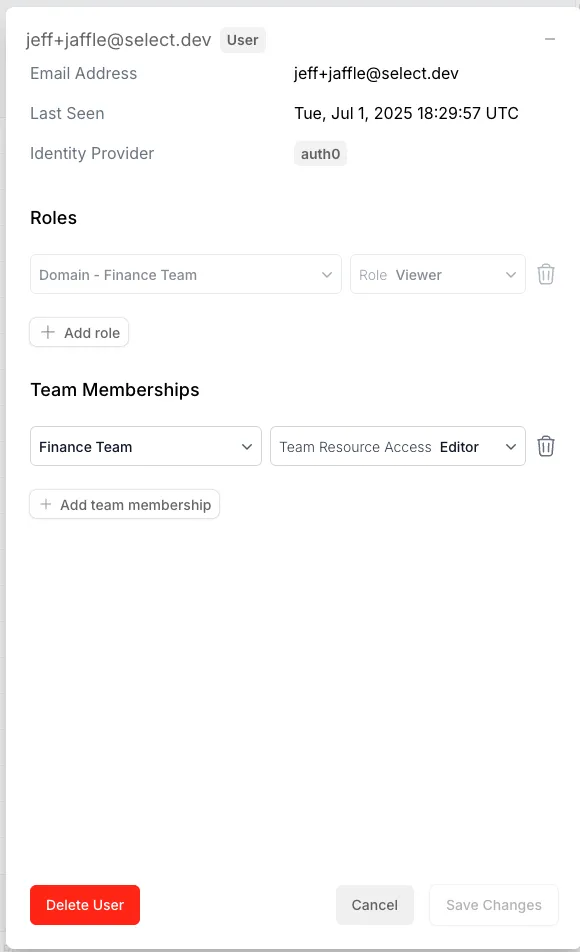
It is important to note that on the Edit User page, you can assign the user roles outside of Team Membership. This means a user doesn’t have to be a member of a Team to get Viewer access on a Usage Group (or Account). However, we recommend using the Teams feature because it keeps things organized and this is the only place you can give the “Edit” permission.

