

SELECT's Azure AD integration is an add-on feature. Please contact SELECT to determine your eligibility and receive a quote.
Connecting Entra ID
To manage access and authentication to SELECT using your Microsoft Entra ID (formerly Azure AD) account, please follow the steps below.
Step 1: Register Application
Launch the new app registration flow in the Microsoft Entra admin center.
Set the name to SELECT, and restrict the access to accounts in your organizational directory only. Set the Redirect URI type to 'Web' and the URI value to https://auth.select.dev/login/callback, and click 'Register'.
On the app's registration overview page, make a note of the 'Application (client) ID' value for configuration in SELECT.
Next, click the 'Add a certificate or secret' link from the same overview page.
Then, create a 'New client secret'.
Set the expiration to the maximum allowed duration. Click 'Add'.
Make a note of the secret value for configuration in SELECT. We recommend creating a reminder to update the connection on SELECT with a new secret before it expires.
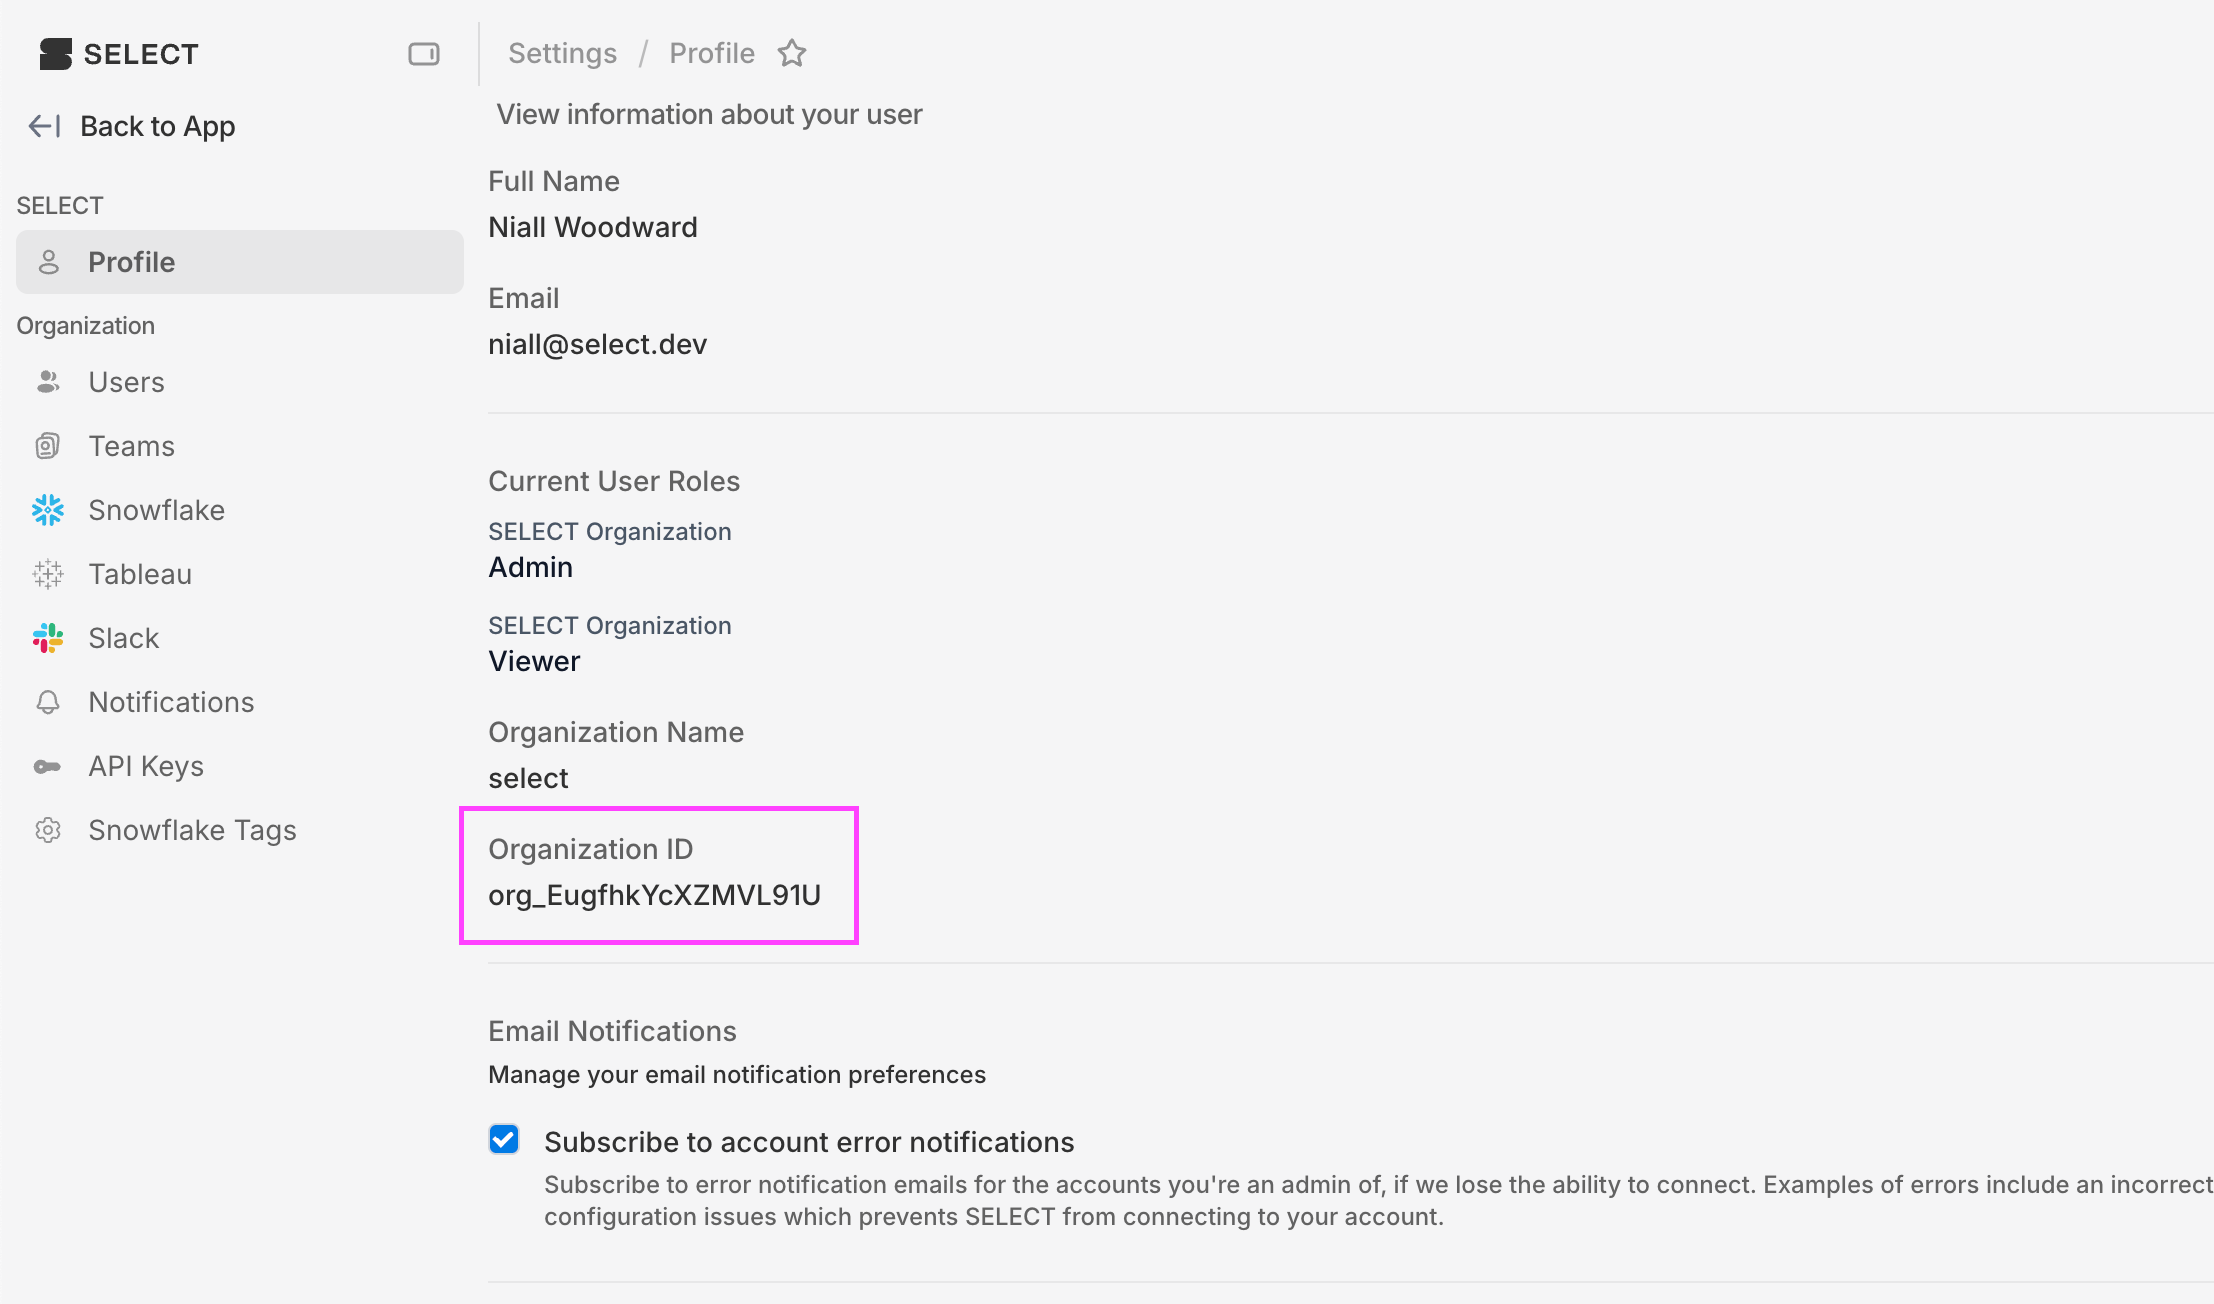
Next, click the 'Branding & properties' tab. You can find your ORGANIZATION_ID value in settings. Then set the Home page URL to https://select.dev/api/auth/login?organization=ORGANIZATION_ID, replacing ORGANIZATION_ID with the value you have. Then click save.
SELECT needs to be able to retrieve the group memberships of users for SSO Group role mappings. To enable this, head to the 'API permissions' tab. SELECT requires the User.Read and Directory.Read.All permissions.
Finally, click the 'Enterprise applications' section of the sidebar, and then click the 'SELECT' application you created. Under properties, ensure the app is set to be visible to users. Access to SELECT is governed by the settings under the 'Users and groups' tab.
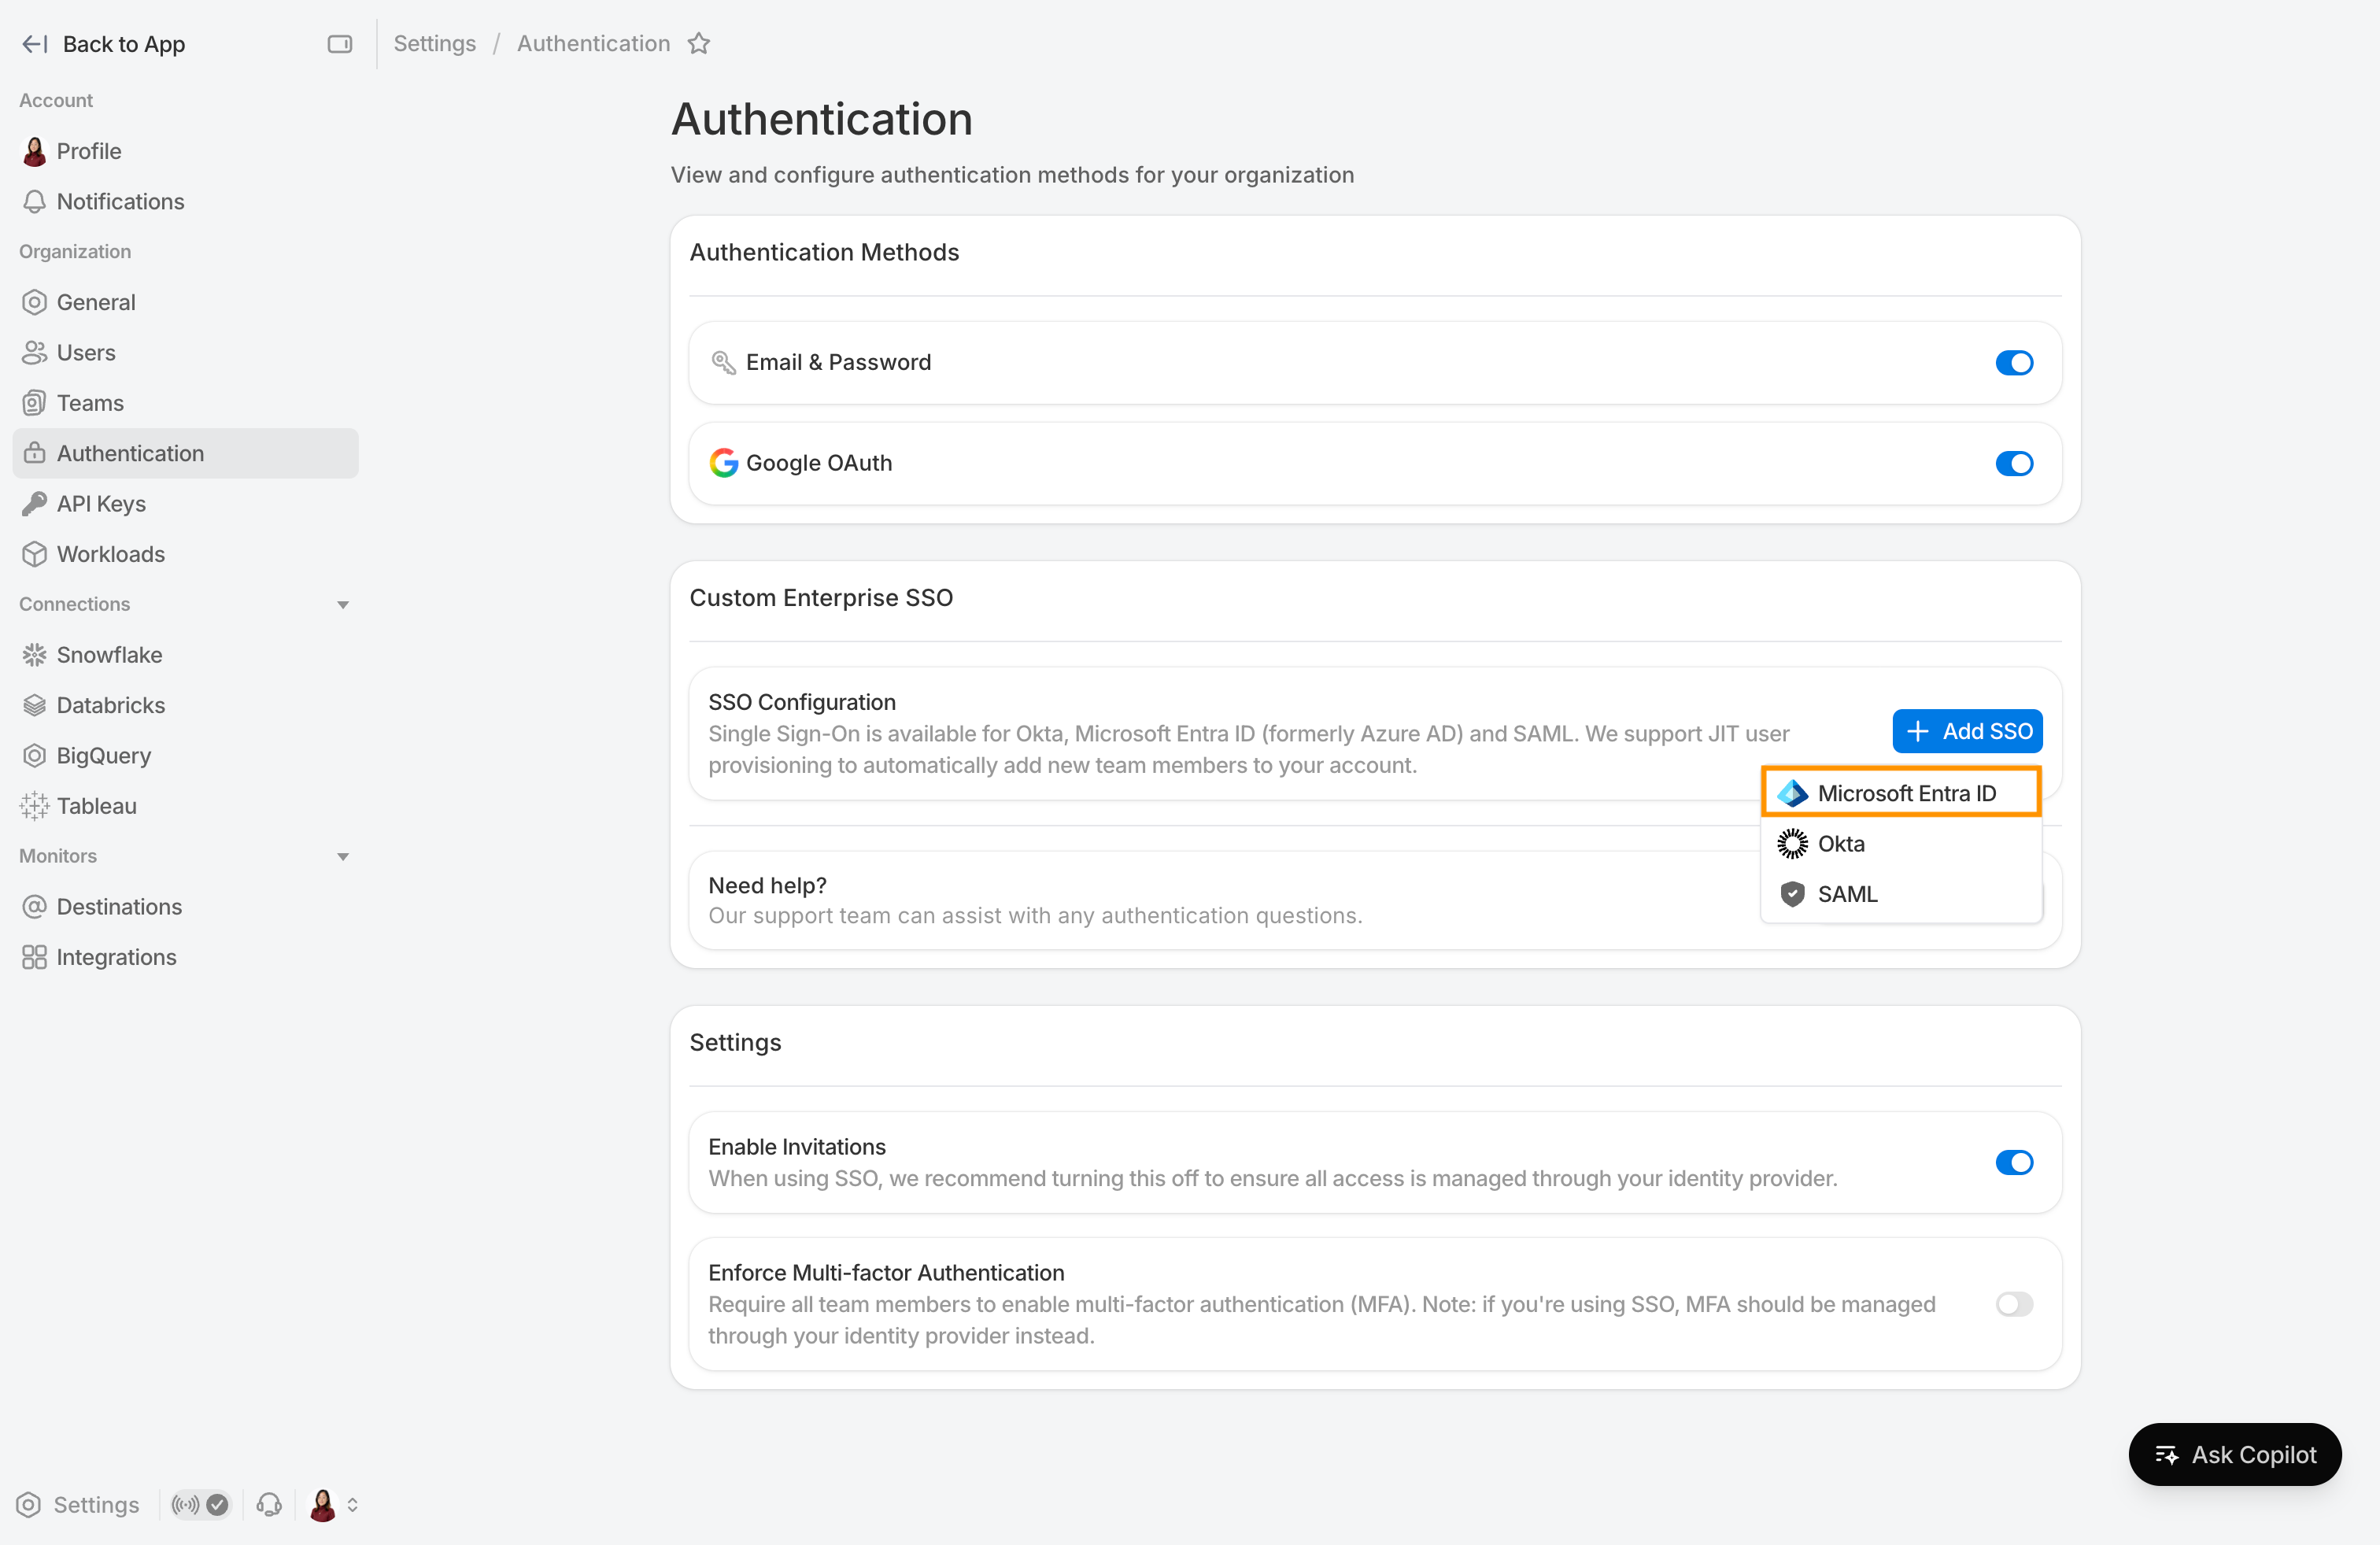
Step 2: Add SSO Connection in SELECT
Head over to SELECT and navigate to Settings → Authentication. In the Custom Enterprise SSO section, click Add SSO and select Microsoft Entra ID from the dropdown.
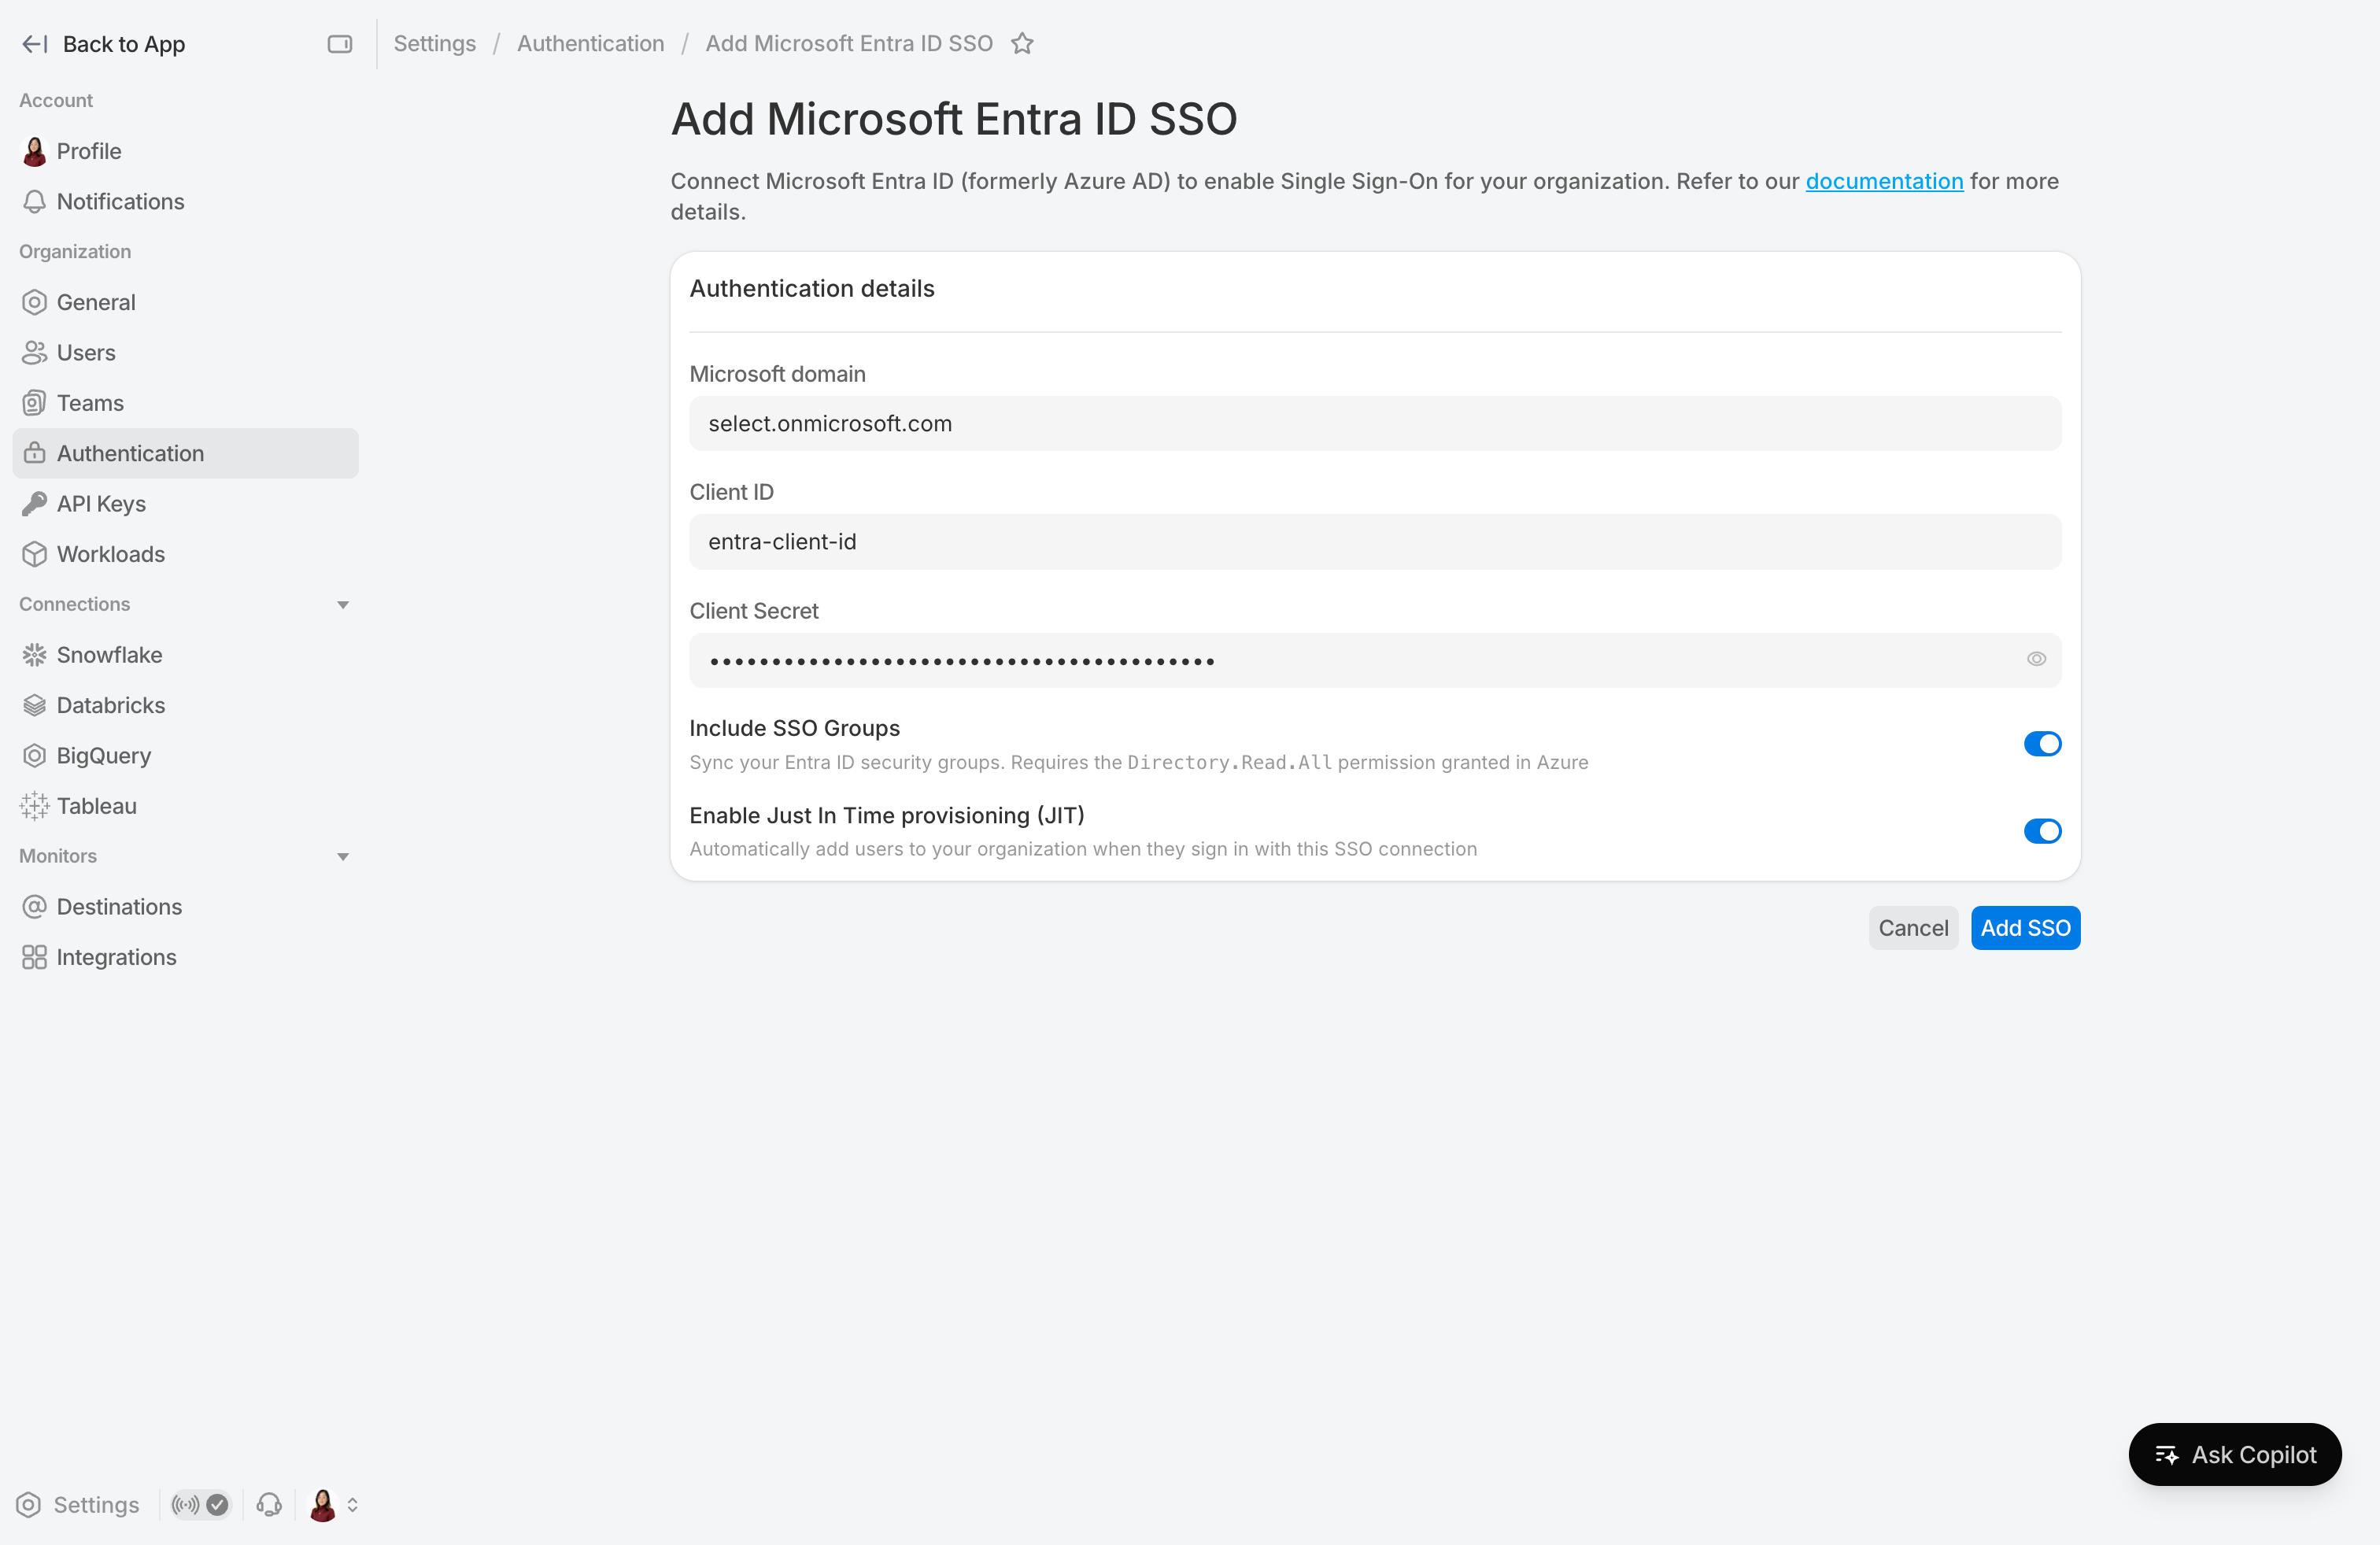
Next, fill out the Add Microsoft Entra ID SSO form. Enter the client ID and client secret that we made note of earlier. You may also enable Include SSO Groups for SSO group role mappings. To find your Entra ID Domain, see your directory page:
Click Add SSO to complete. You should then see your newly created SSO connection under Authentication Methods.
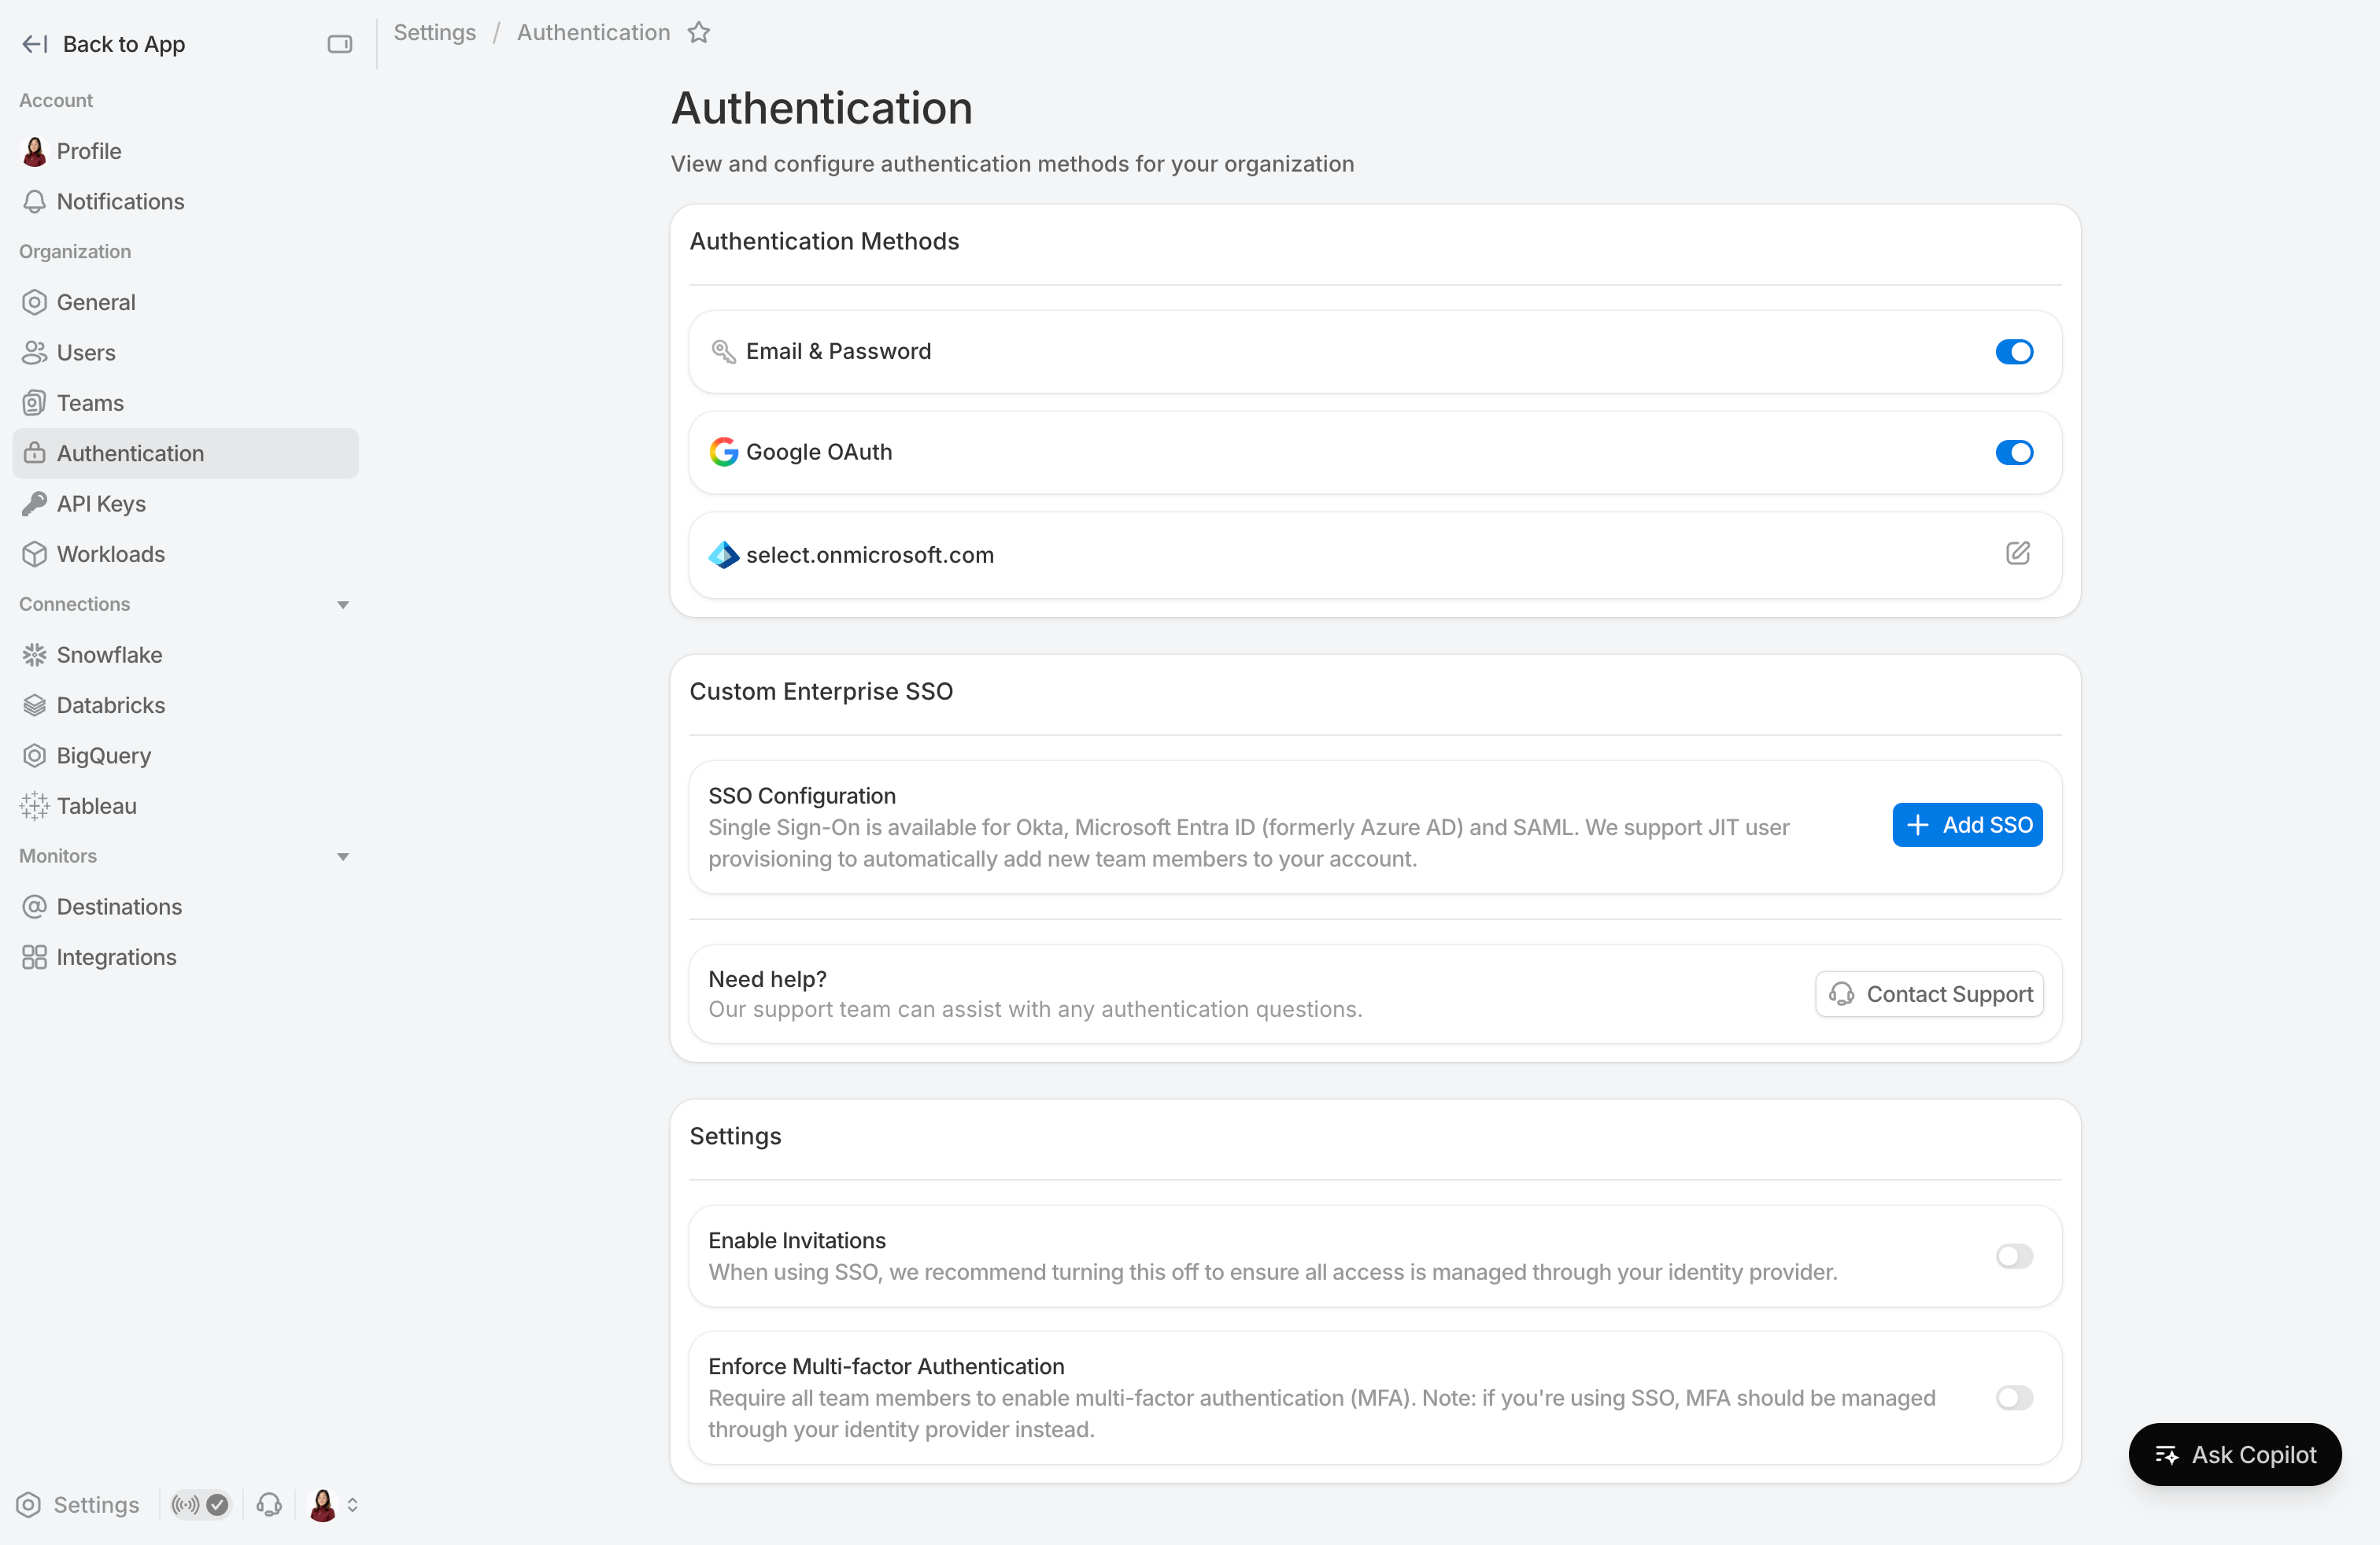
Creating an SSO connection will automatically disable manual user invitations.

