

3 ways to configure Snowflake warehouse sizes in dbt
Niall WoodwardWednesday, January 18, 2023
The ability to use different warehouse sizes for different workloads in Snowflake provides enormous value for performance and cost optimization. dbt natively integrates with Snowflake to allow specific warehouses to be chosen down to the model level. In this post, we explain exactly how to use this feature and share some best practices.Why change warehouse size?
If your dbt project is starting to take a long time to run, causing SLA misses, or just a bad user experience, then increasing the warehouse size will likely improve its speed. Or, if you’ve increased dbt’s default warehouse size already, you may be looking to reduce costs by increasing the size for only the models that benefit from it.
Speed up dbt models
Models often take longer as the volume of data increases over time. For some models, this slowdown will be linear with the volume of data. For other models, that’s not always the case, as aggregate functions and joins can become exponentially compute-intensive as the volume of data grows. All these effects can impact execution time significantly especially if a model starts spilling to remote storage (check out our post on the query profile to learn more).
The single most effective way of speeding up any query is to reduce the amount of data it processes. If a model is becoming slow and uses a table materialization, consider the possibility of using an incremental materialization to process only new or updated data each time it runs.
If you’re already using incrementalization, or it’s not possible, then increasing the warehouse size is likely the next best step for speeding up the model.
Configuring dbt’s default Snowflake warehouse
By default, dbt uses the Snowflake warehouse configured in the profiles.yml entry for the project, or if not set, the default warehouse for dbt’s Snowflake user. By changing this warehouse for another, larger warehouse, or simply resizing the existing warehouse, dbt will now execute all its queries on a larger warehouse. Depending on where dbt is running the warehouse can be changed in the profiles.yml file, or in dbt Cloud at the environment level.
profiles.yml
In your profiles.yml file, edit the warehouse config to a different virtual warehouse. The size of each warehouse is configured in Snowflake.
dbt Cloud
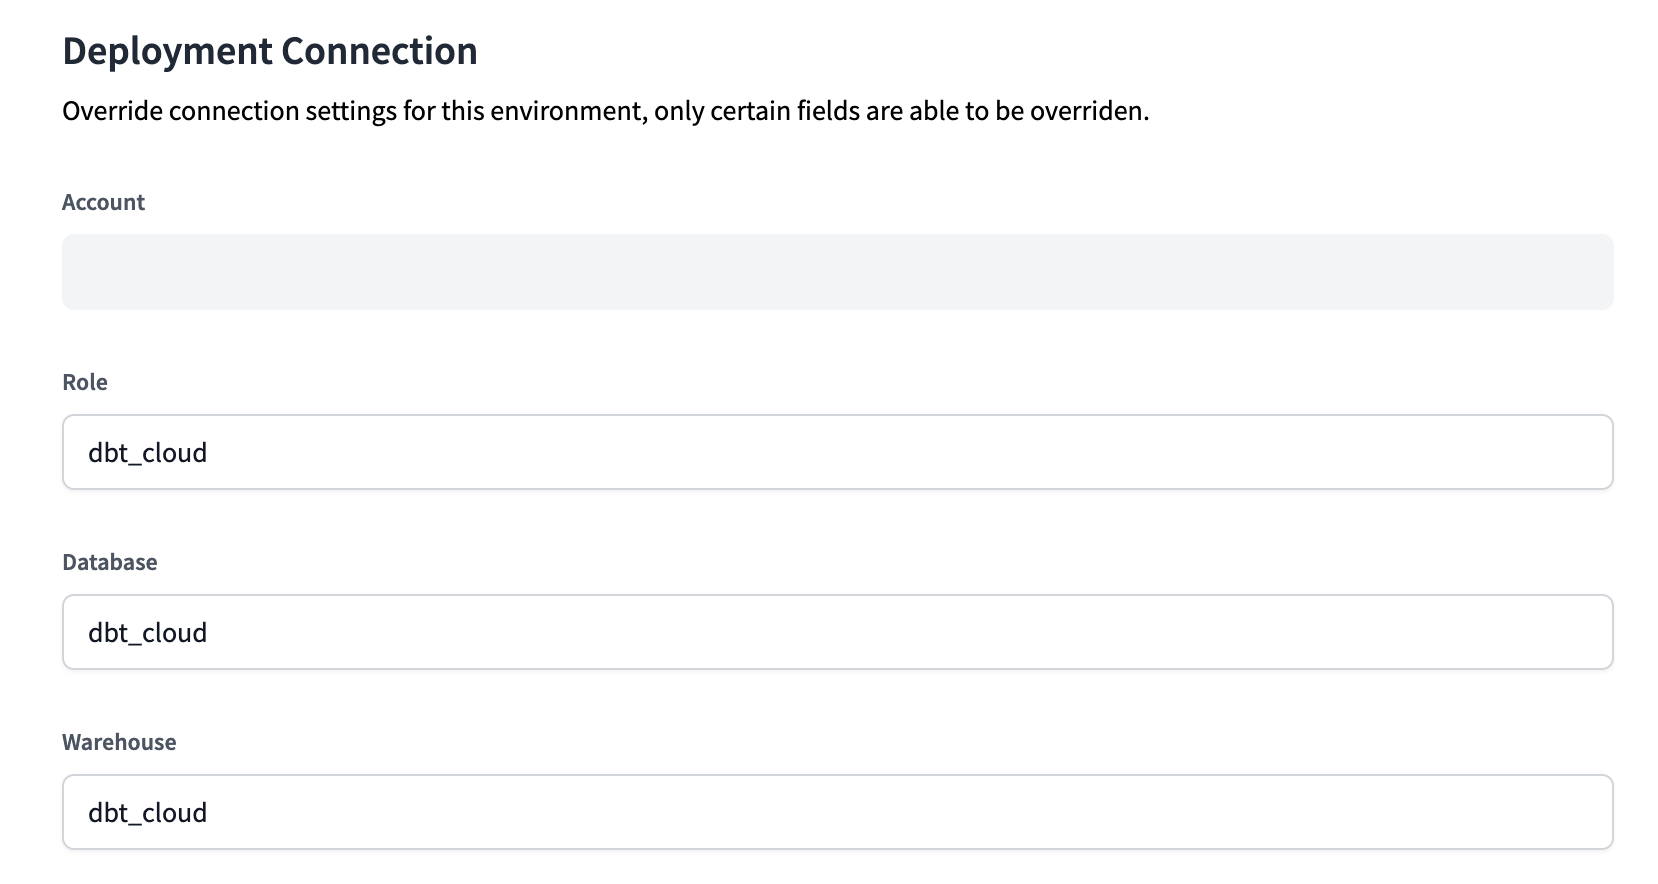
In dbt Cloud, navigate to Deploy > Environments in the top menu bar. Choose the environment you want to edit, then Settings. Click Edit, then scroll down to Deployment Connection where the warehouse can be changed. The size of the warehouse is configured in Snowflake.
Changing the default dbt warehouse size isn’t necessarily wise, however, as most queries in the project will not benefit from the increased warehouse size, leading to increased Snowflake costs. For more details on the impact of warehouse size on query speed, see our warehouse sizing post. Instead of increasing the default warehouse size, we recommend setting the default warehouse size to X-Small, and overriding the warehouse size at the individual model level as needed.
Configuring a dbt model's Snowflake warehouse size
Configuring the warehouse used at the model level means that we can choose specific warehouse sizes for each model’s requirements, optimizing performance and cost.
Hardcoded warehouse
dbt provides the snowflake_warehouse model configuration, which looks like this when set in a specific model:
Alternatively, the configuration can be applied to all models in a directory using dbt_project.yml, such as:
Dynamic warehouse name based on environment
In many cases, the warehouse we want to use in production differs from the one that we might want to use when developing, or in a CI or automated testing workflow. The same goes for the warehouses we’re now configuring for individual models. To do that, we can use a macro in place of the literal warehouse value we have before:
This macro can implement logic to return the desired warehouse size for the environment.
Suppose that in production, we have created warehouses named dbt_production_<size> (dbt_production_xsmall, dbt_production_small, dbt_production_medium etc.), and for CI, we have warehouses named dbt_ci_<size>. For local development, we just want to use the default warehouse, and ignore the configured warehouse size altogether. We also want to raise an error if the chosen warehouse size isn’t available in a managed list. We can do that with the following macro logic:
Using a macro for the snowflake_warehouse config only works in model files, and cannot be used in the dbt_project.yml.
Configuring the warehouse for other resources in dbt
It’s currently only possible to configure warehouses for models and snapshots. If you’re interested in keeping up to date on support for other resources such as tests, take a look at this GitHub issue.
Monitoring dbt model performance and cost
Check out our dbt_snowflake_monitoring dbt package which provides an easy-to-use dbt_queries model for understanding the performance of dbt models over time. It attributes costs to individual model runs, which makes it easy to answer questions like “what are the 10 costliest models in the last month?”.
Conclusion
Thanks for reading! In an upcoming post we’ll share more recommendations for optimizing dbt performance on Snowflake. Make sure to subscribe for notifications on future posts, and feel free to reach out if you have any questions!

Niall is the Co-Founder & CTO of SELECT, a SaaS Snowflake cost management and optimization platform. Prior to starting SELECT, Niall was a data engineer at Brooklyn Data Company and several startups. As an open-source enthusiast, he's also a maintainer of SQLFluff, and creator of three dbt packages: dbt_artifacts, dbt_snowflake_monitoring and dbt_query_tags.
Want to hear about our latest data cloud learnings?Subscribe to get notified.
Get up and running in less than 15 minutes
Connect your Snowflake, Databricks, or BigQuery account and instantly understand your savings potential.

